
Craving a sweet treat that’s quick and easy to make? Look no further! These No-Bake Biscoff Cheesecake Truffles combine creamy cheesecake goodness with the rich flavor of Biscoff cookies. In this article, I’ll guide you through every step, from gathering ingredients to perfecting your truffle texture. Get ready to impress your friends and family with these deliciously indulgent bites. Let’s dive into the world of sweet bliss!
Ingredients
List of Ingredients
– 1 cup Biscoff cookies, finely crushed
– 8 oz cream cheese, softened to room temperature
– 1/2 cup powdered sugar
– 1 teaspoon pure vanilla extract
– 1/4 cup Biscoff spread
– 1/2 cup white chocolate chips
– 1 tablespoon coconut oil (for melting the chocolate)
– Extra crushed Biscoff cookies for rolling and garnish
Measurement Tips
Using a food scale can help you measure ingredients accurately. This ensures you use just the right amount of each item. If you want a sweeter treat, add a bit more powdered sugar. If you prefer a richer flavor, increase the Biscoff spread. Feel free to adjust based on your taste!
Ingredient Substitutions
If you want a different flavor, you can swap cream cheese with mascarpone cheese. This will give your truffles a different texture and taste. For dairy-free options, try using vegan cream cheese. It works well and keeps your truffles creamy without the dairy.
Step-by-Step Instructions
Preparation Steps
– Mixing the base ingredients
In a large bowl, combine 1 cup of finely crushed Biscoff cookies and 8 oz of softened cream cheese. Use a spatula or a hand mixer to blend until smooth. Next, add 1/2 cup of powdered sugar, 1 teaspoon of pure vanilla extract, and 1/4 cup of Biscoff spread. Mix until you have a thick, velvety mixture with no lumps.
– Rolling the truffle mixture
Take about a tablespoon of the mixture and roll it into a small ball. Each ball should be around 1 inch in diameter. Repeat this until all the mixture is rolled into truffles. Place the truffles on a parchment-lined baking sheet.
Chilling and Coating Instructions
– How to chill the truffles effectively
Put the baking sheet with truffles in the refrigerator. Chill the truffles for about 30 minutes. This step helps them firm up and makes coating easier.
– Melting and coating with white chocolate
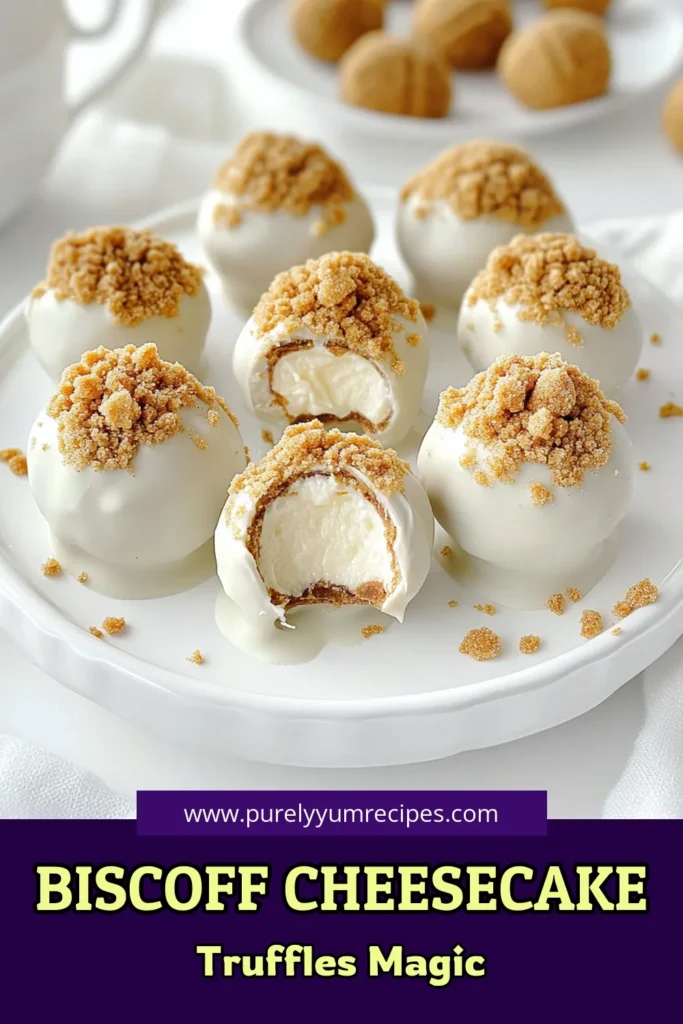
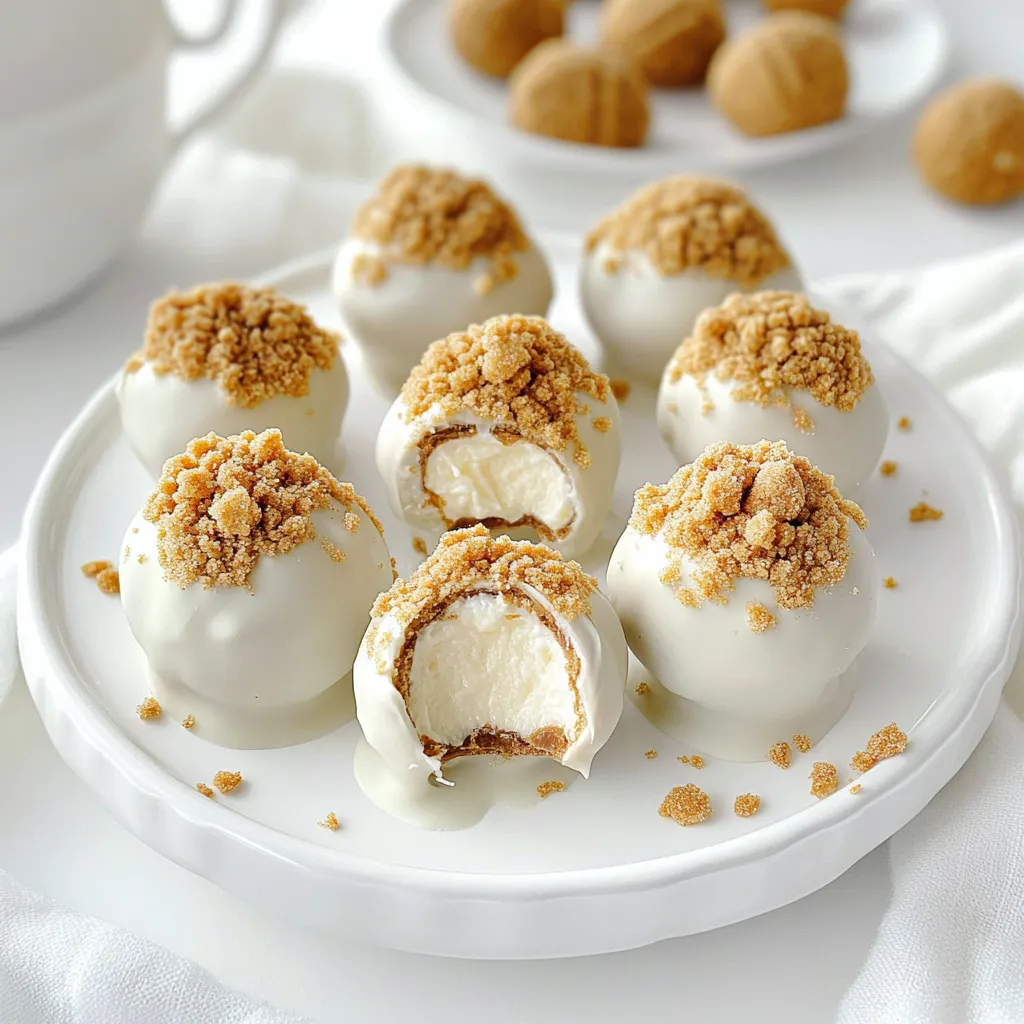
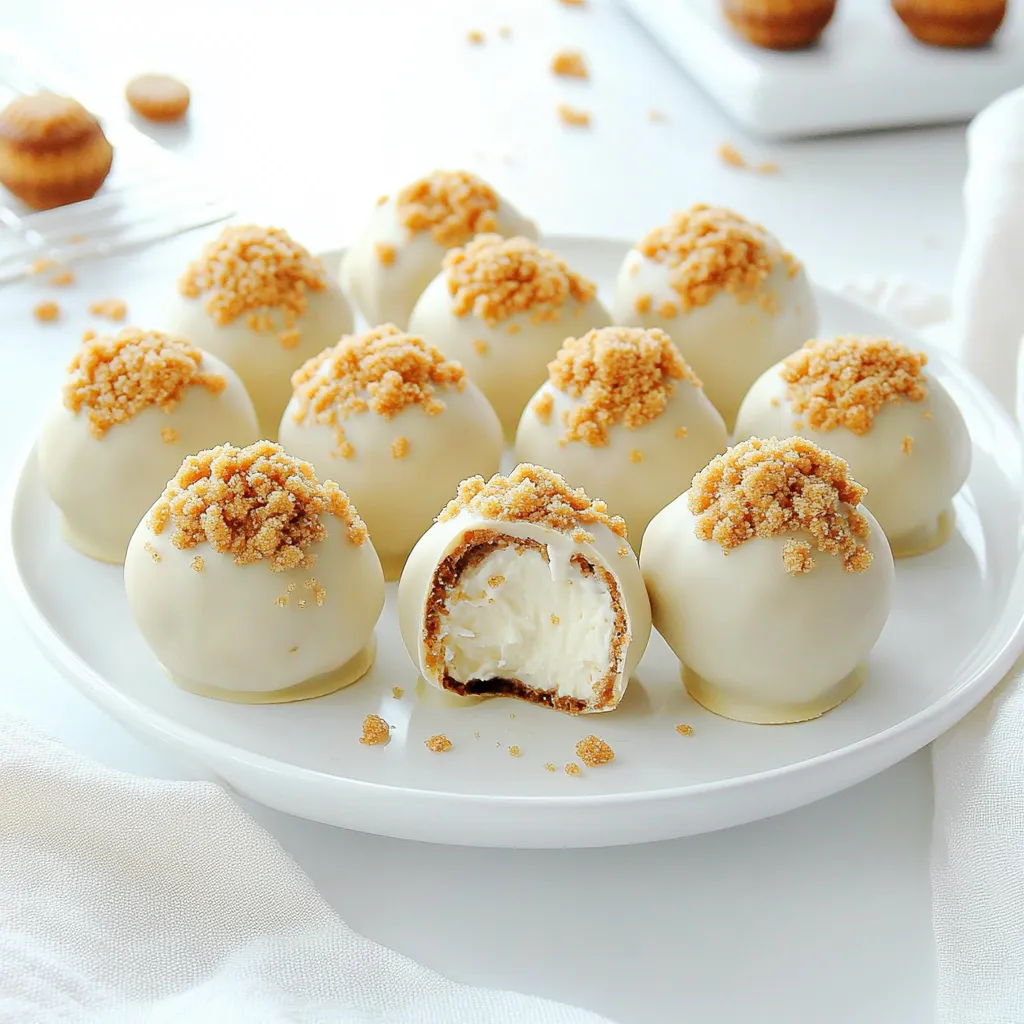
While the truffles chill, melt 1/2 cup of white chocolate chips and 1 tablespoon of coconut oil in a microwave-safe bowl. Heat in 30-second bursts. Stir after each interval until smooth. Once the truffles are chilled, take one and dip it into the melted chocolate. Use a fork to coat it fully. Let any excess chocolate drip off before placing it back on the sheet.
Final Touches
– Rolling in crushed Biscoff cookies
While the chocolate coating is still wet, roll each truffle in extra crushed Biscoff cookies. This adds a nice flavor and texture.
– Setting the truffles before serving
Return the coated truffles to the fridge for another 15-20 minutes. This allows the chocolate coating to set properly. Enjoy your delicious Biscoff cheesecake truffles!
Tips & Tricks
Achieving the Perfect Texture
To get the best texture for your Biscoff cheesecake truffles, start with your ingredients at room temperature. This helps the cream cheese mix well and stay smooth. If your cream cheese is cold, it can lead to lumps in your mixture.
To avoid lumps, mix your ingredients carefully. Use a spatula or an electric mixer until you have a creamy blend. Take your time and scrape down the sides of the bowl to ensure everything combines well.
Working with Melting Chocolate
Melting chocolate can be tricky. For smooth melting, use a microwave-safe bowl and heat the chocolate in short bursts. Heat for 30 seconds, then stir. Repeat until it is fully melted and smooth. This method prevents the chocolate from burning.
You can also use other coatings like dark chocolate or even milk chocolate if you prefer. Each type adds a unique flavor to your truffles.
Presentation Tips
For a pretty display, arrange your truffles on a nice platter. You can use a gift box for a fun touch. Drizzle some melted white chocolate over the truffles for extra flair.
You can also sprinkle crushed Biscoff cookies on top for a nice look. This adds color and ties into the flavors of the truffles. Making your truffles look great is part of the fun!
Variations
Flavor Variations
You can make your Biscoff cheesecake truffles even more special. Try adding different flavors. A bit of orange zest brightens up the taste. It gives a fresh twist. If you love coffee, mix in some instant coffee granules. This adds a rich depth to your truffles.
You can also switch up the chocolate. Instead of white chocolate, use dark or milk chocolate. Each type brings its own unique flavor. Feel free to experiment until you find your favorite!
Dietary Modifications
If you need a gluten-free version, substitute the Biscoff cookies. Use gluten-free cookies instead. They work well and keep the flavor.
For vegans, swap out the cream cheese for a vegan cream cheese. You can also use coconut cream for a rich taste. Ensure your chocolate is dairy-free too. These changes let everyone enjoy your truffles!
Truffle Size and Shape Options
You can change the size of your truffles for fun. Make larger truffles for a more filling treat. Or go for bite-sized ones for easy snacking.
Shapes can also be playful. Use cookie cutters to create fun shapes for parties. Hearts or stars can add a festive touch. Let your creativity shine and make truffles for any occasion!
Storage Info
Best Practices for Storing Truffles
To keep your Biscoff cheesecake truffles fresh, you have two main options: refrigeration and freezing.
– Refrigeration: Store your truffles in the fridge. Use an airtight container to keep them safe from other odors. They stay creamy and tasty this way.
– Freezing: If you want to keep them longer, freezing is a good choice. Pack them in a freezer-safe container. Make sure to separate each layer with parchment paper.
Shelf Life
These truffles can last about one week in the fridge. When frozen, they can stay good for up to three months.
– Signs of spoilage: Watch for changes in smell or texture. If the truffles look dry or crumbly, it’s best to toss them out.
Thawing and Serving After Freezing
When you’re ready to enjoy your frozen truffles, proper thawing is key.
– Thawing methods: Place them in the fridge for several hours or overnight. This keeps them from melting fast. Avoid using the microwave, as it can change the texture.
– Restoring texture: If they feel a bit soft after thawing, place them back in the fridge for about 30 minutes. This helps them firm up again.
FAQs
Can I make Biscoff cheesecake truffles ahead of time?
Yes, you can make these truffles ahead of time. This makes them perfect for parties or snacks. You can prepare the truffles and store them in the fridge for up to three days. If you want to keep them longer, freeze them. Just make sure to wrap them tightly in plastic wrap or place them in an airtight container. Thaw them in the fridge before serving.
How do I prevent the chocolate from seizing?
To prevent chocolate from seizing, avoid adding moisture. Even a small drop of water can cause it to clump. Use a microwave-safe bowl and heat the chocolate in small bursts. Stir often to keep it smooth. If you notice any clumps, stop heating. Add a little more coconut oil to help smooth it out.
Can I use other types of cookies?
Yes, you can use other cookies! Try Oreos, graham crackers, or even vanilla wafers. Each cookie will give a different flavor to your truffles. Just ensure the cookies are finely crushed, like the Biscoff cookies. This way, the texture will stay consistent.
What can I do with leftover Biscoff spread?
Leftover Biscoff spread is great for many things. You can spread it on toast for breakfast. It also works well in smoothies or as a dip for fruits. Another fun idea is to swirl it into yogurt or oatmeal. You can even bake it into cookies or brownies for a special touch.
Are these truffles suitable for gifting?
Absolutely! These truffles make great gifts. You can package them in a nice box or jar. Add a ribbon for a personal touch. For a fun idea, label each truffle flavor. This way, your friends will know what to expect. They will love receiving such a tasty treat!
You learned how to make tasty Biscoff cheesecake truffles in this post. We covered ingredients, prep steps, and storage tips. You can tweak flavors and shapes to make them your own. Remember, these truffles can impress anyone, whether for a party or gift. With proper storage, they stay fresh and delicious. Now, get ready to enjoy your sweet creation!
