WANT TO SAVE THIS RECIPE?
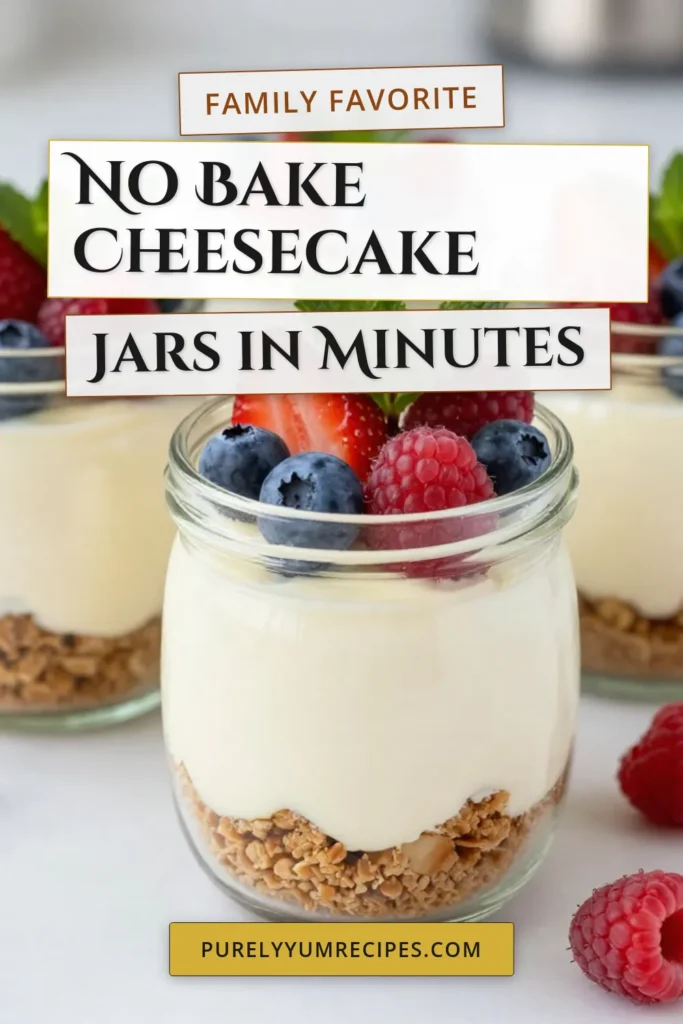
If you’re craving a sweet treat that’s simple and oh-so-delicious, look no further than no-bake cheesecake jars! These little desserts are perfect for anyone who loves creamy textures and fruity toppings. Plus, they come together without an oven! In this post, I’ll guide you through easy steps to create your own jars of bliss, share tips for perfecting the texture, and even suggest tasty variations. Let’s dive into this delightful dessert!

Why I Love This Recipe
- Easy to Make: This no-bake cheesecake is incredibly simple to whip up, requiring minimal effort and only a few ingredients.
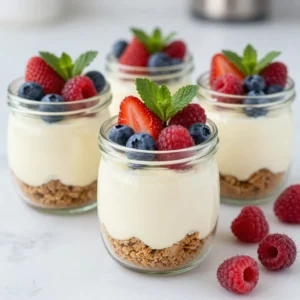
- Individual Servings: Serving the cheesecake in jars adds a charming touch and makes it easy to enjoy this dessert on the go.
- Customizable: Feel free to mix and match the toppings with your favorite fruits or even chocolate to suit your taste preferences.
- Impressive Presentation: The layered look of the cheesecake jars makes for an eye-catching dessert that is sure to impress your guests.
Ingredients
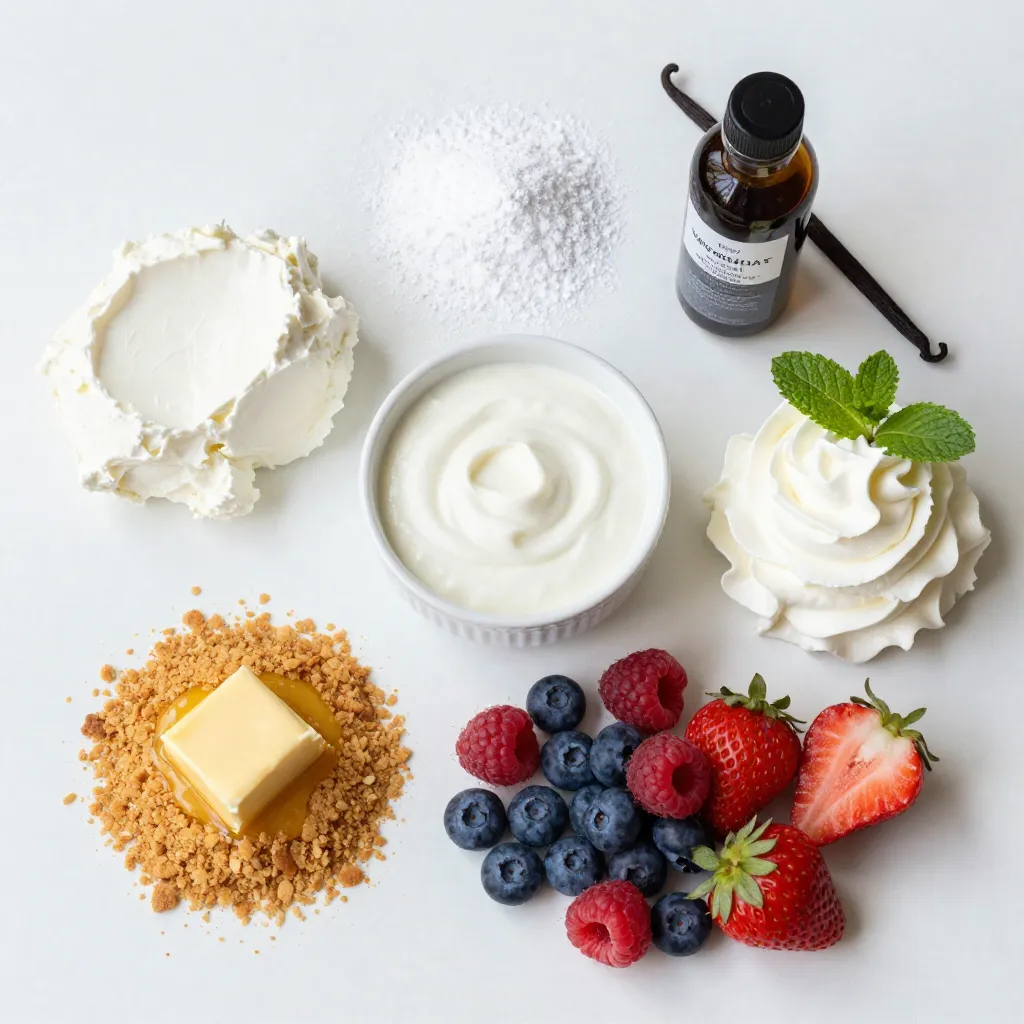
Main Ingredients for No-Bake Cheesecake Jars
– 1 cup cream cheese, softened to room temperature
– ½ cup Greek yogurt for creaminess
– ½ cup powdered sugar for sweetness
– 1 teaspoon pure vanilla extract for flavor
– 1 cup heavy whipping cream, chilled
These main ingredients create a rich and creamy filling. The cream cheese gives it a smooth texture. Greek yogurt adds tanginess and lightness. Powdered sugar brings just the right sweetness. Vanilla extract gives it a warm, lovely flavor. Heavy whipping cream is key for a thick, fluffy texture. When whipped, it makes the cheesecake light and airy.
Ingredients for the Crust
– 1 cup graham cracker crumbs for the crust
– 4 tablespoons unsalted butter, melted
The graham cracker crumbs form a crunchy base. Mixing them with melted butter helps bind them together. If you want a twist, try using Oreo crumbs or crushed nuts instead. These alternatives can add fun flavors and textures to your jars.
Toppings and Garnishes
– 1 cup mixed berries (strawberries, blueberries, raspberries) for topping
– Fresh mint leaves for a touch of elegance (optional)
Fresh mixed berries add a burst of color and flavor. They contrast nicely with the sweet cheesecake. You can also add mint leaves for a pop of green and freshness. For extra flair, consider a drizzle of berry compote or honey. This makes your dessert even more appealing and tasty.
Step-by-Step Instructions
Preparing the Cheesecake Mixture
To start, gather your ingredients. In a large bowl, mix the softened cream cheese and Greek yogurt. Add the powdered sugar and vanilla extract. Use an electric mixer on medium speed to blend everything. Keep mixing until it is smooth and creamy. This step is key for a rich cheesecake base.
Whipping the Cream
Next, take a separate bowl for the heavy whipping cream. Make sure it is chilled well. Whip the cream using a whisk or an electric mixer on high speed. You want to whip until you see stiff peaks. This means the cream holds its shape well. Stiff peaks are crucial for that light and airy texture.
Combining the Mixtures
Now, it is time to combine the mixtures. Gently fold the whipped cream into the cream cheese mix. Use a spatula or a large spoon for this. Be careful not to deflate the whipped cream. This gentle folding helps keep your cheesecake light and fluffy.
Assembling the Jars
Now, let’s assemble the jars. Start by adding a layer of graham cracker mixture to the bottom of each jar. Press it down gently with a spoon to form a crust. Then spoon the cheesecake filling over the crust. Smooth the top with the back of your spoon for an even layer.
Chilling and Final Touches
After assembling, cover the jars with lids or plastic wrap. Refrigerate them for at least 2 hours. This chilling time is important. It helps the flavors meld together and firms up the cheesecake. Just before serving, top each jar with fresh berries and a mint leaf for a pop of color. Enjoy making these easy and delicious treats!
Tips & Tricks
Perfecting the Cheesecake Texture
To get a smooth filling, avoid common mistakes. First, make sure your cream cheese is at room temperature. Cold cream cheese can lead to lumps. Next, mix the cream cheese, yogurt, powdered sugar, and vanilla until fully combined. Use an electric mixer for the best results. When you fold in the whipped cream, do it slowly. This keeps the mixture light and fluffy.
Layering Techniques for Presentation
Layering is key for a beautiful jar. Start with a graham cracker crust at the bottom. Press it down gently for a strong base. Next, add a layer of cheesecake filling. Use the back of a spoon to smooth it out. Follow with a layer of berries. Repeat the process until the jars are full. Finish with a smooth layer of cheesecake on top. This method creates an eye-catching dessert.
Serving Suggestions
Present your jars on a nice platter. Add a small spoon next to each one. For a special touch, drizzle berry compote or honey on top. You can also garnish with fresh berries and mint leaves. These simple details make your dessert look and taste even better.
Pro Tips
- Room Temperature Ingredients: Ensure your cream cheese is softened to room temperature for easier blending and a smoother texture in your cheesecake filling.
- Whipping Cream Technique: Whip your heavy cream until it reaches stiff peaks; this will provide the cheesecake with a light and airy texture that contrasts beautifully with the crust.
- Layering for Aesthetics: When layering your jars, try to alternate the graham cracker mixture and cheesecake filling for a beautiful striped effect that’s visually appealing.
- Chilling Time: Don’t rush the chilling process; allowing the jars to set in the refrigerator for at least 2 hours ensures that the flavors meld beautifully and the cheesecake firms up perfectly.
Variations
Flavor Variations
You can change the flavor of your no-bake cheesecake jars easily. Try adding citrus for a fresh taste. For lemon cheesecake, mix in lemon zest and juice. Orange zest works great too. Want chocolate? Just blend in some cocoa powder or melted chocolate. Other fun flavors include caramel or peanut butter. Experiment with your favorite tastes to make it unique!
Dietary Modifications
If you need gluten-free options, swap graham cracker crumbs for gluten-free cookies or nuts. For a vegan version, use dairy-free cream cheese and coconut cream in place of heavy whipping cream. Coconut cream gives a rich taste. You can also use maple syrup instead of powdered sugar for sweetness. These swaps keep the dessert tasty and friendly for different diets.
Seasonal Toppings
Seasonal fruits can make your jars pop. In spring and summer, use fresh berries like strawberries, blueberries, and raspberries. In fall, top with sliced apples or pears and a sprinkle of cinnamon. Winter might call for pomegranate seeds or citrus slices for color and flavor. These toppings not only taste good but also add visual appeal to your jars.
Storage Info
How to Store No-Bake Cheesecake Jars
To keep your no-bake cheesecake jars fresh, store them in the fridge. Use a tight lid or plastic wrap. This helps seal in the flavors and moisture. They stay good for up to five days. Avoid leaving them out at room temperature for long. This keeps the cheesecake safe and tasty.
Freezing Instructions
You can freeze these jars if you want to save some for later. Just make sure to remove any toppings first. Cover each jar with plastic wrap and then foil. This helps prevent freezer burn. When you’re ready to enjoy, thaw in the fridge overnight. Do not refreeze once thawed.
Signs of Spoilage
Check your cheesecake jars for freshness. If you see mold or an off smell, it’s time to toss them. The texture may change, becoming watery or grainy. If it looks or smells wrong, don’t eat it. Always trust your senses to keep safe.
FAQs
Can I make this recipe in advance?
Yes, you can make these jars ahead of time. This dessert tastes even better after some chill time. To prepare, layer the jars and cover them. Store them in the fridge for up to three days. Just remember not to add toppings until you are ready to serve. This keeps the berries fresh and bright.
Can I use low-fat cream cheese?
You can use low-fat cream cheese, but the taste and texture will change. The cheesecake may be less creamy. It might also be a bit denser than using full-fat cream cheese. For the best results, try to use regular cream cheese. You’ll notice a richer flavor and creamier texture.
What is the best way to serve these jars?
Serving these jars is easy and fun. You can place them on a big platter for a nice look. Give each guest a spoon. If you want to impress, drizzle berry compote on top. Fresh mint leaves also make a lovely touch.
How long do no-bake cheesecakes last in jars?
No-bake cheesecakes will last about three to four days in the fridge. Keep them covered to stay fresh. Always check for any odd smells or changes in texture before serving. If you see any signs of spoilage, it’s best to toss them out.
In summary, no-bake cheesecake jars are easy and fun to make. You combine cream cheese, yogurt, and whipped cream for a creamy filling. Layer it with a simple crust and your choice of toppings like fresh berries. Remember to chill the jars for the best flavor. Whether you stick to the classic recipe or try new flavors, these treats stand out. Store them well and enjoy them fresh. With a bit of care, your cheesecake jars will impress everyone. Dive into this delightful dessert toda
Decadent No-Bake Cheesecake Jars
A delightful and creamy no-bake cheesecake served in jars, perfect for a sweet treat.
Prep Time 15 minutes mins
Total Time 2 hours hrs 15 minutes mins
Course Dessert
Cuisine American
Servings 4
Calories 300 kcal
- 1 cup cream cheese, softened to room temperature
- 0.5 cup Greek yogurt
- 0.5 cup powdered sugar
- 1 teaspoon pure vanilla extract
- 1 cup heavy whipping cream, chilled
- 1 cup graham cracker crumbs
- 4 tablespoons unsalted butter, melted
- 1 cup mixed berries (strawberries, blueberries, raspberries)
- Fresh mint leaves (optional)
In a large mixing bowl, combine the softened cream cheese, Greek yogurt, powdered sugar, and vanilla extract. Using an electric mixer, beat the mixture on medium speed until it becomes smooth, creamy, and fully blended.
In a separate bowl, pour the chilled heavy whipping cream. Using a whisk or an electric mixer, whip the cream on high speed until stiff peaks form.
Carefully fold the whipped heavy cream into the cream cheese mixture using a spatula or large spoon.
In a different bowl, combine the graham cracker crumbs with the melted butter. Stir until the crumbs are evenly coated.
Start building your jars by adding a generous layer of the graham cracker mixture to the bottom of each jar. Press it down gently.
Spoon the cheesecake filling over the graham cracker layer in each jar. Smooth the top with the back of a spoon.
Sprinkle a layer of mixed berries over the cheesecake filling.
Continue layering with the remaining graham cracker mixture, followed by the cheesecake filling, until the jars are filled.
Cover the jars with lids or plastic wrap and refrigerate for at least 2 hours.
Just before serving, garnish each jar with a sprinkle of fresh berries and a mint leaf if you choose.
For an inviting display, arrange the jars on a decorative platter and provide a spoon alongside each.
Keyword berries, cheesecake, dessert, jars, no-bake
WANT TO SAVE THIS RECIPE?