FREE DINNER EBOOK!
Get your copy!
Cookie Policy
GDPR Policy
Disclaimer
Terms Of Use
Visit my other site:
Fun Cookie Recipes
Home
Dinner
Desserts
Drinks
Appetizers
Contact
About
Privacy Policy
Home
Dinner
Desserts
Drinks
Appetizers
Contact
About
Privacy Policy
Cookie Policy
GDPR Policy
Disclaimer
Terms Of Use
Visit my other site:
Fun Cookie Recipes
HOME / CATEGORIES /
Latest
Cranberry Pecan Chicken Salad Fresh and Tasty Delight
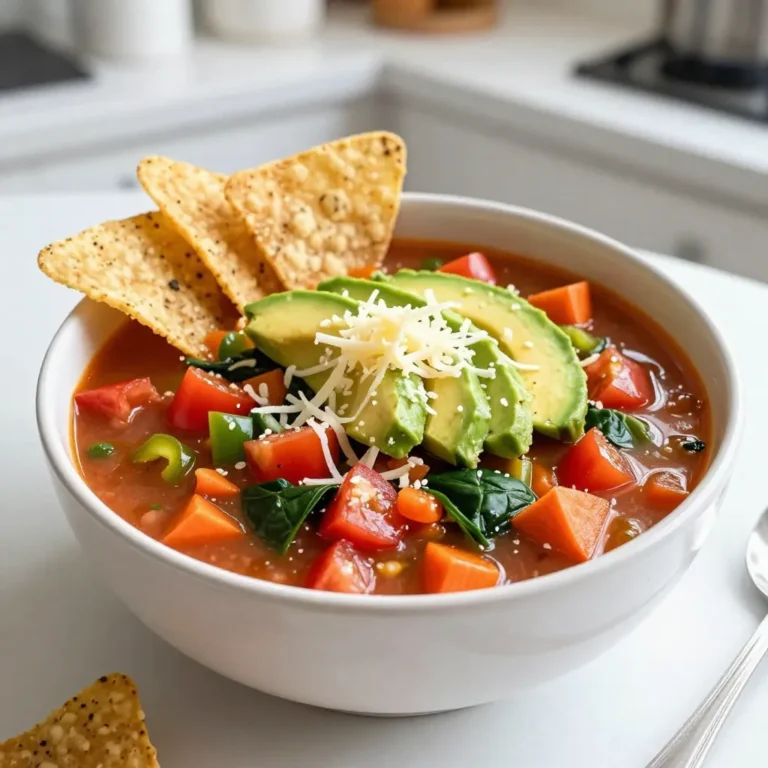
Veggie Loaded Taco Soup Flavorful and Easy Recipe
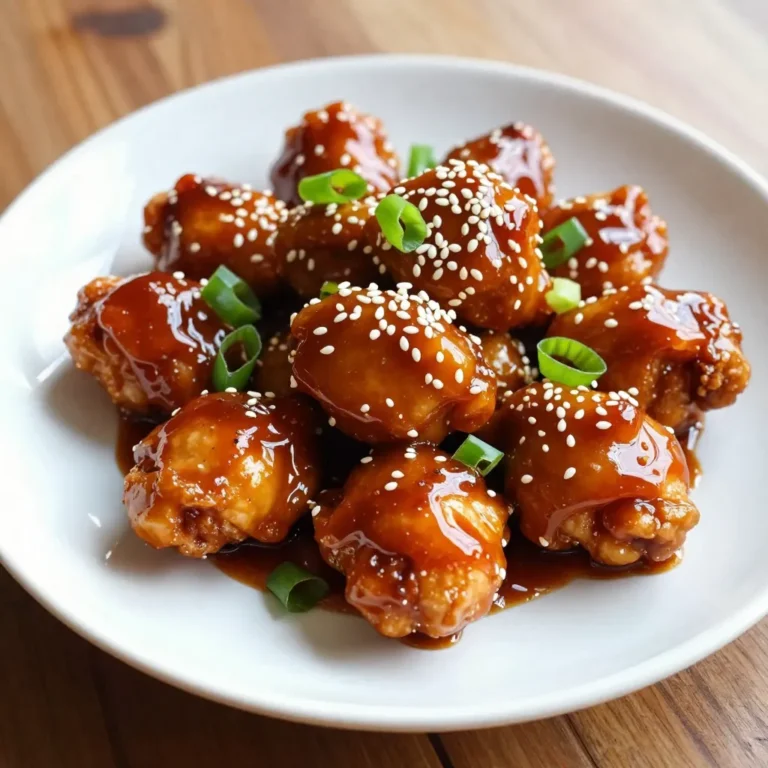
Honey Sriracha Chicken Bites Flavorful and Fun Snack
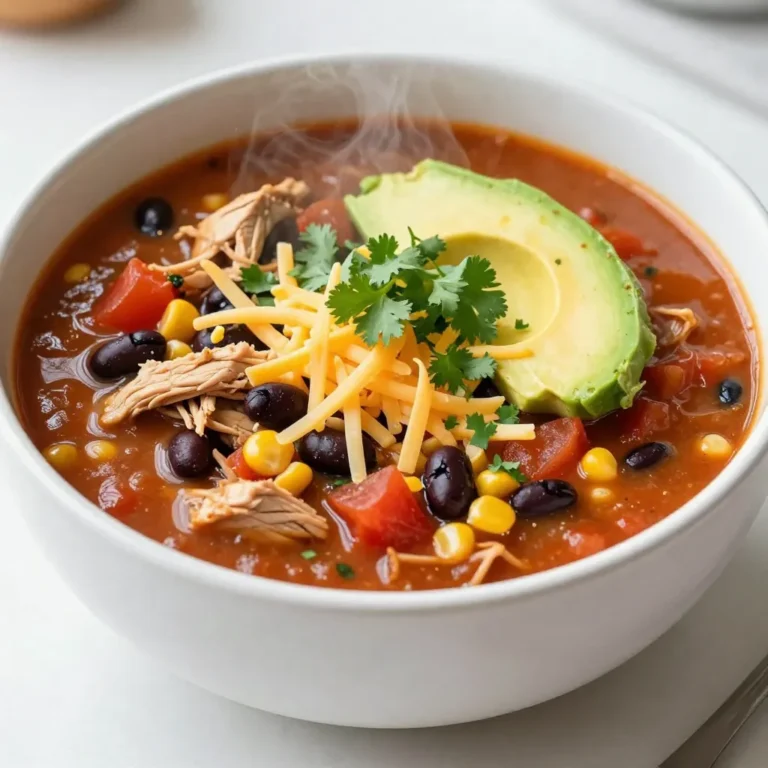
Savory Slow Cooker Chicken Enchilada Soup Recipe
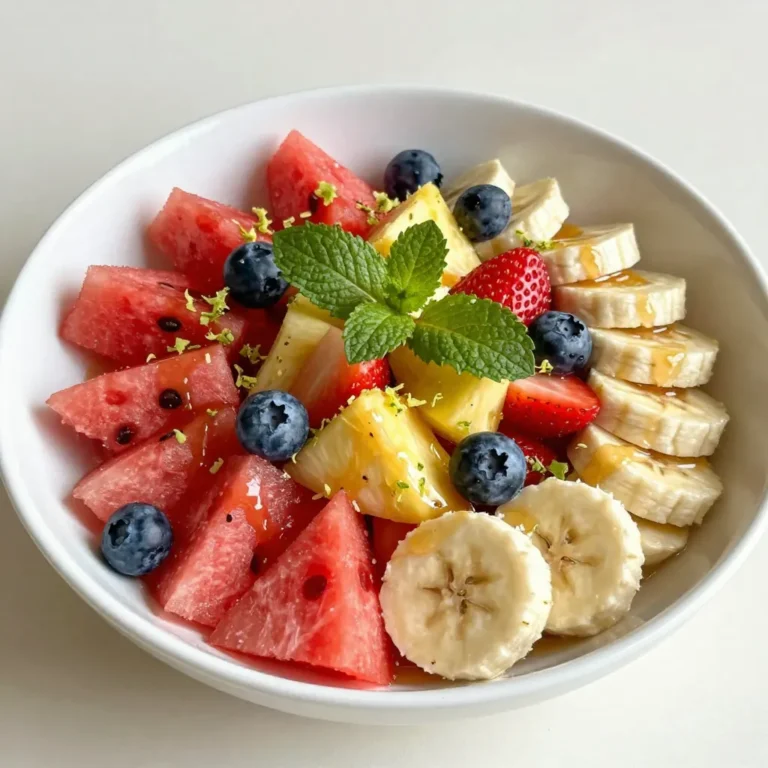
Honey Lime Fruit Salad Refreshing and Simple Delight
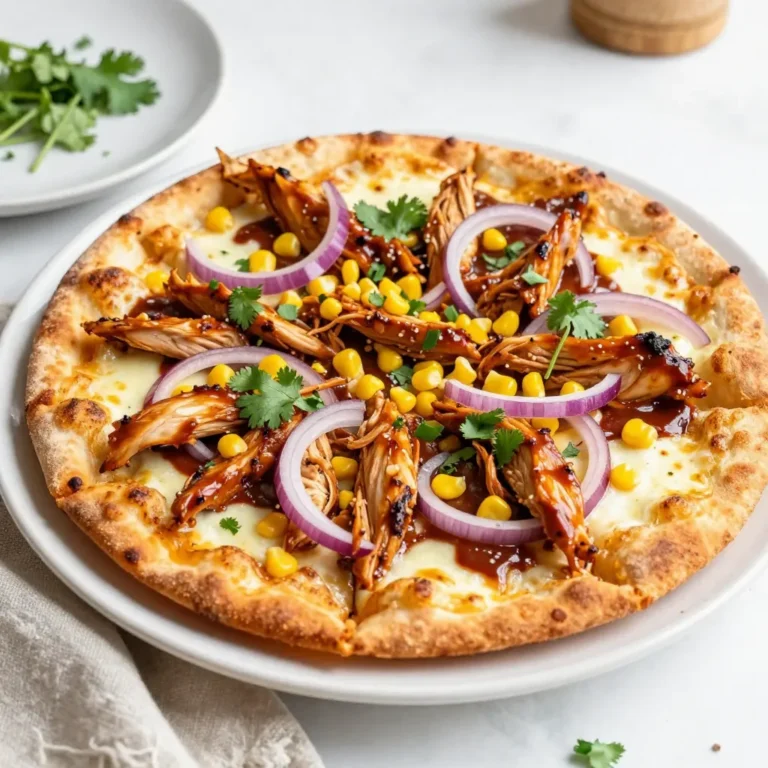
BBQ Chicken Flatbread Pizza Tasty and Easy Recipe
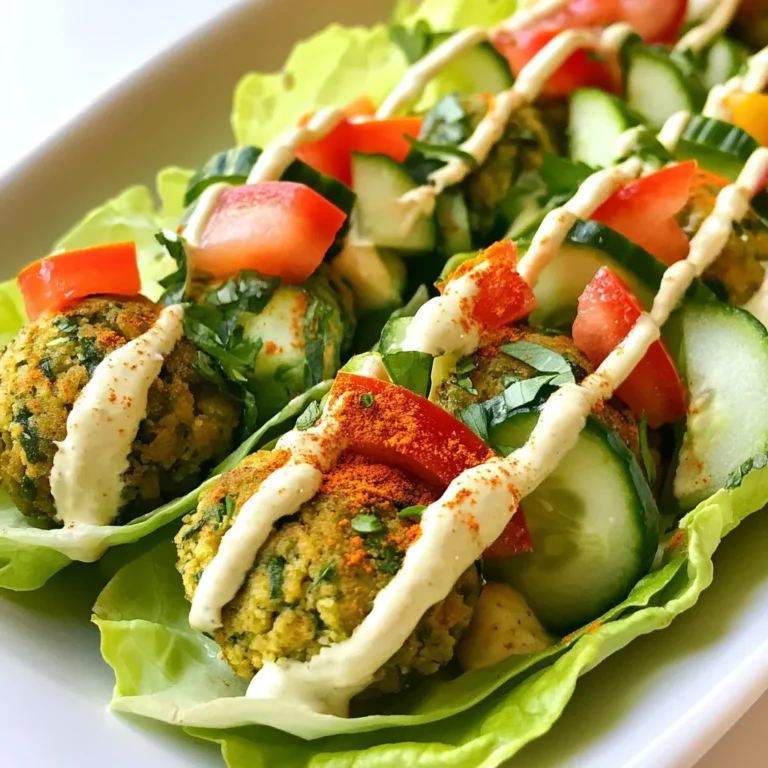
Savory Falafel Lettuce Wraps Healthy and Tasty Meal
Chocolate Espresso Truffles Decadent Easy Treat
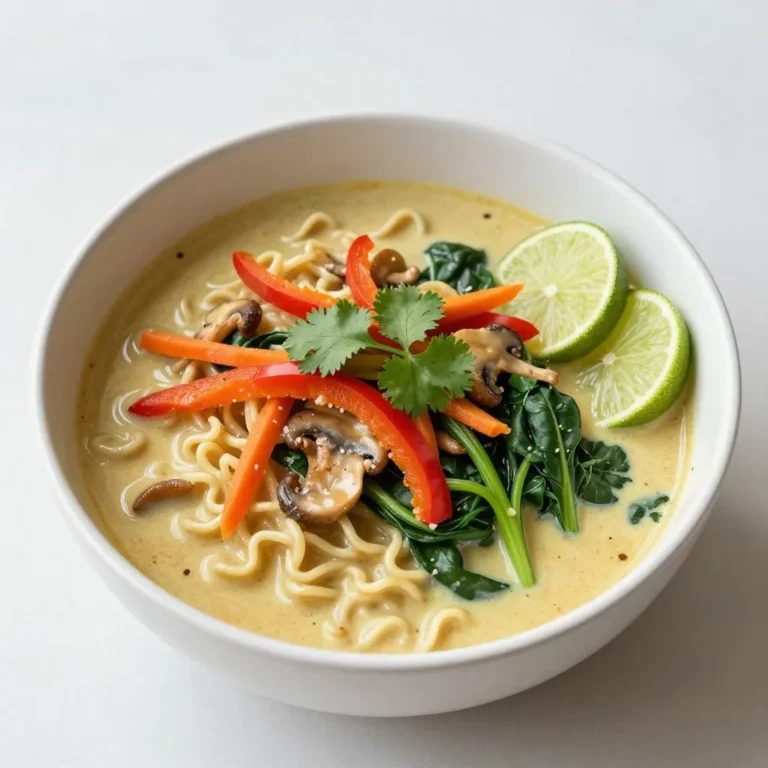
Vegan Coconut Curry Ramen Flavorful Nourishing Dish
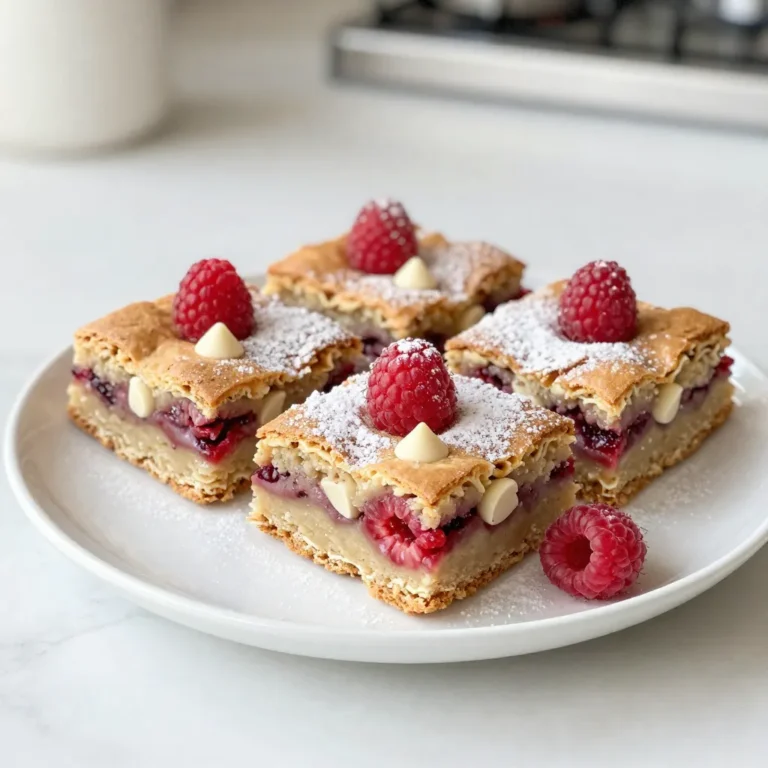
Raspberry White Chocolate Blondies Dreamy Sweet Treat
1
2
…
48
NEXT