FREE DINNER EBOOK!
Get your copy!
Cookie Policy
GDPR Policy
Disclaimer
Terms Of Use
Visit my other site:
Fun Cookie Recipes
Home
Dinner
Desserts
Drinks
Appetizers
Contact
About
Privacy Policy
Home
Dinner
Desserts
Drinks
Appetizers
Contact
About
Privacy Policy
Cookie Policy
GDPR Policy
Disclaimer
Terms Of Use
Visit my other site:
Fun Cookie Recipes
HOME / CATEGORIES /
Latest
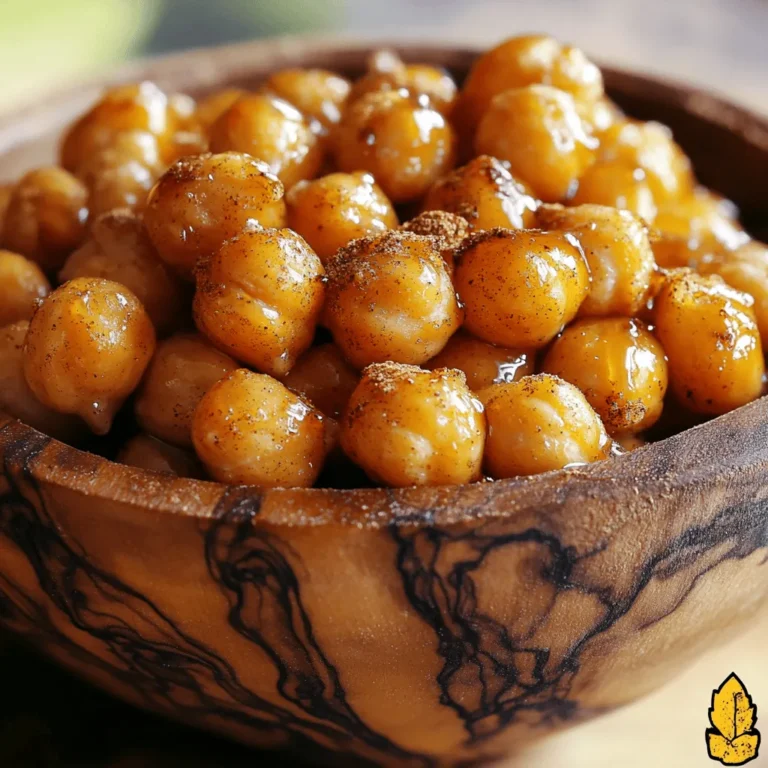
Maple Cinnamon Roasted Chickpeas Crunchy Delight
Pesto Chicken Penne Bake Savory and Comforting Dish
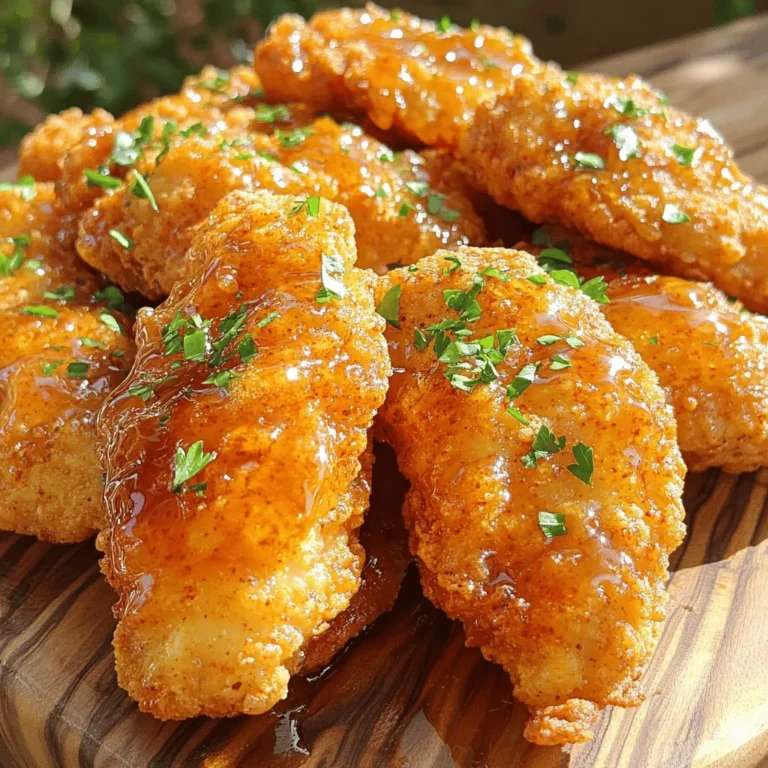
Hot Honey Chicken Tenders Crispy and Flavorful Treat
Maple Walnut Banana Muffins Delightful and Easy Recipe
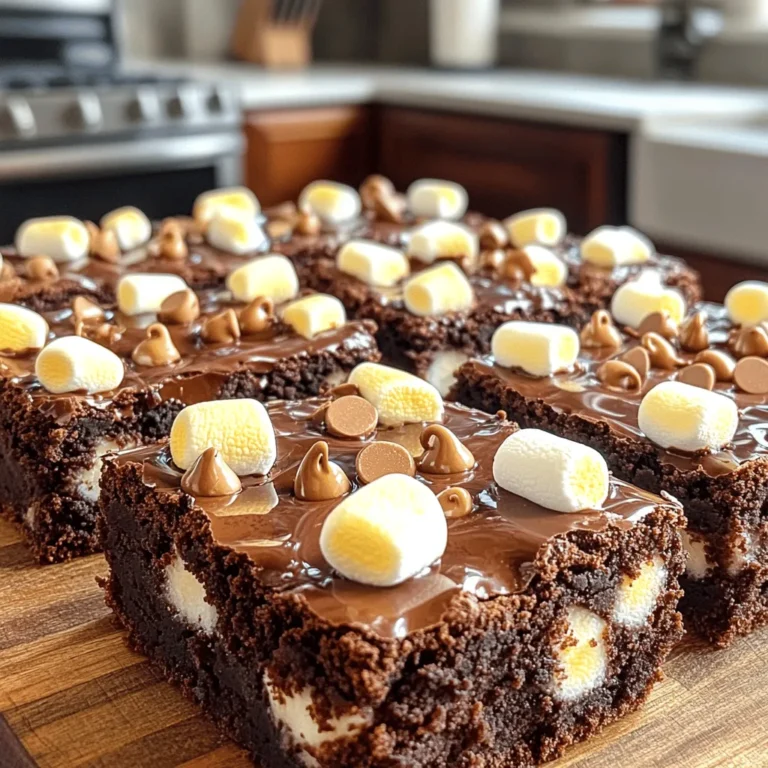
Marshmallow Frosted Brownies Irresistible Sweet Treat
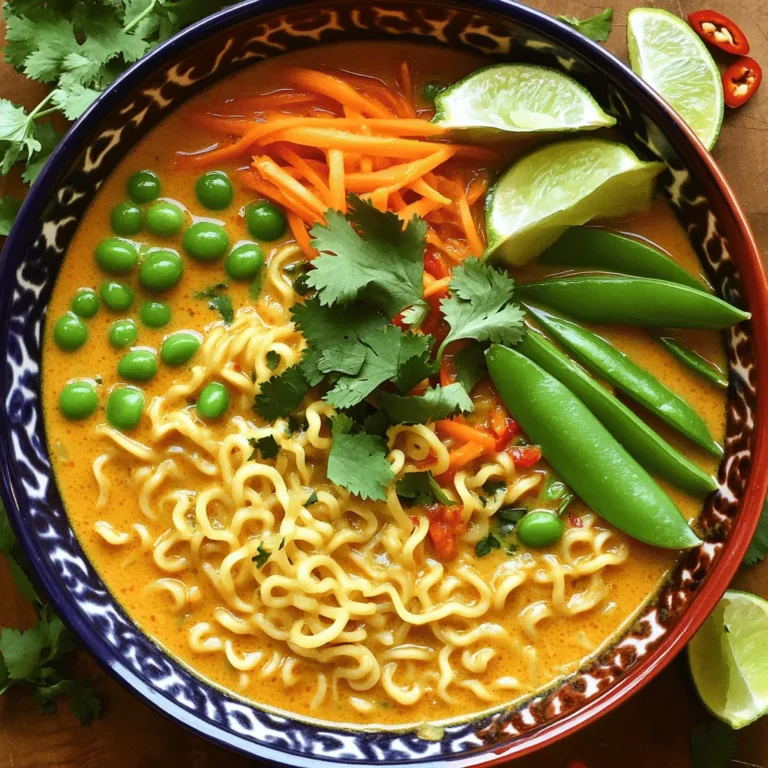
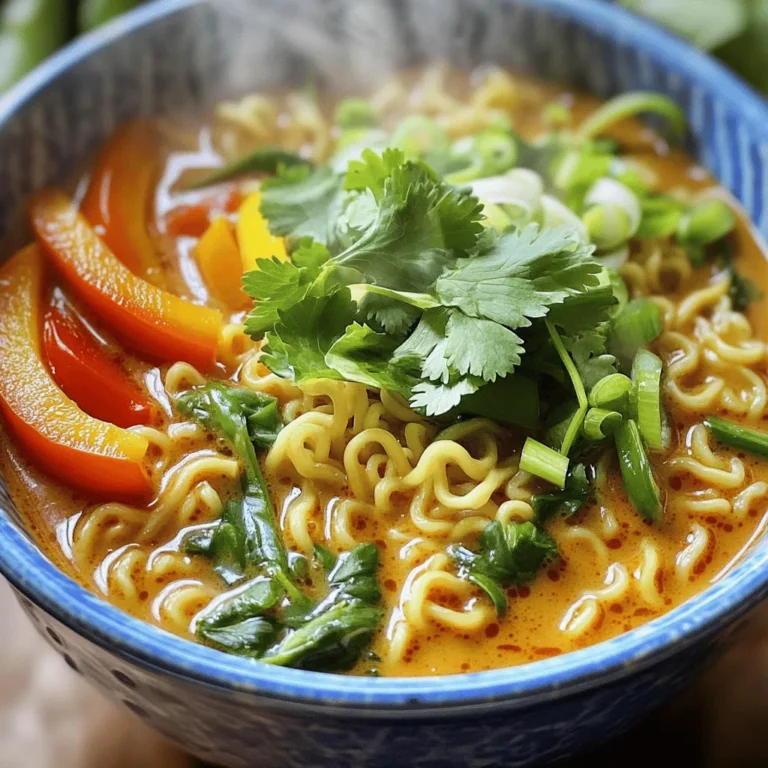
Coconut Curry Ramen Flavor-Packed Comfort Bowl
Marshmallow Frosted Brownies Irresistible Dessert Delight
Coconut Curry Ramen Delightful and Easy Recipe
Pesto Chicken Stuffed Peppers Flavorful and Easy Meal
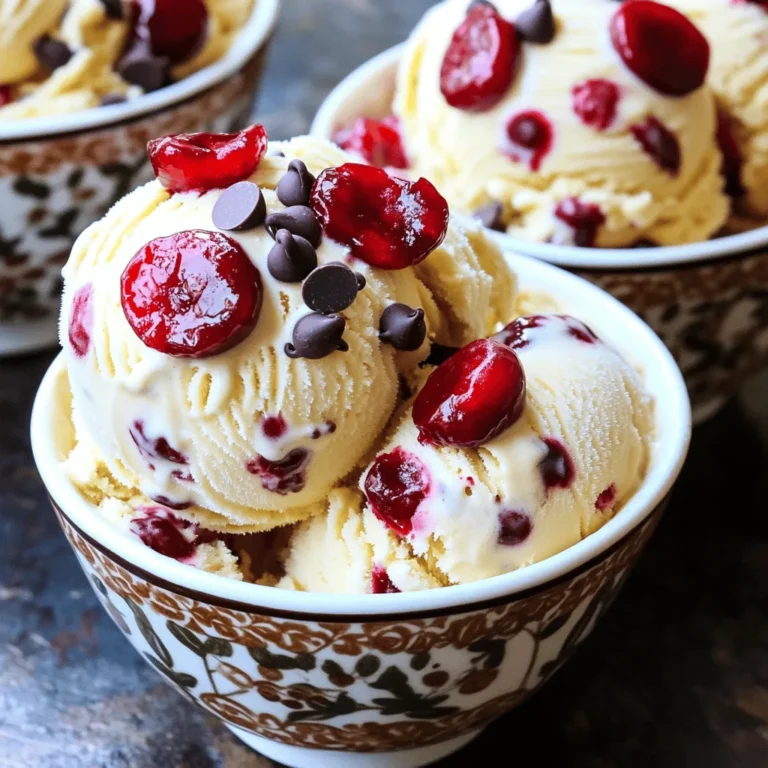
Cherry Garcia Ice Cream Copycat Simple Recipe Guide
PREV
1
…
12
13
14
…
20
NEXT

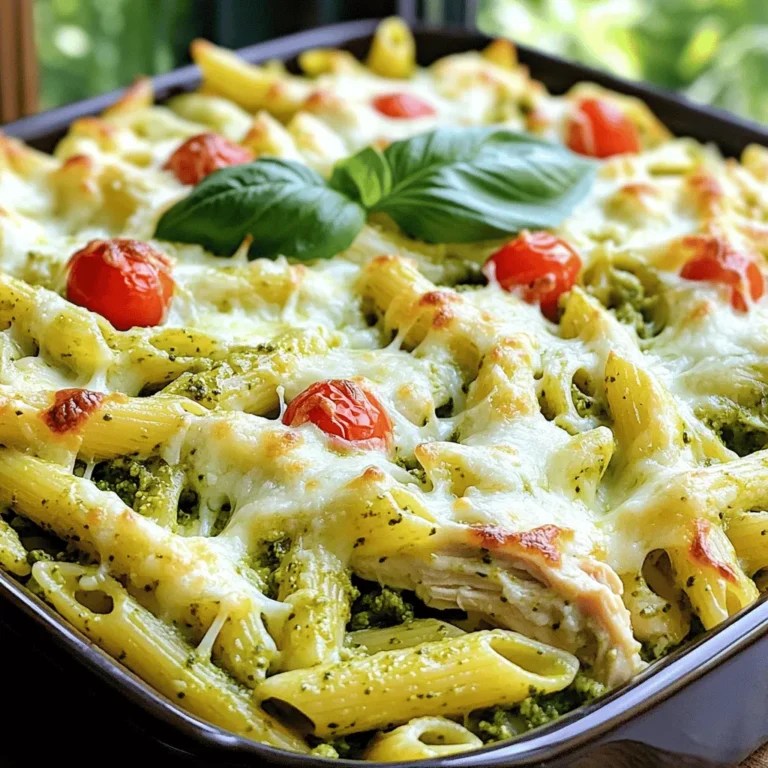


![Here are the tasty ingredients you will need for Pesto Chicken Stuffed Peppers: - 4 medium bell peppers (any vibrant color) - 2 cups cooked chicken, shredded - 1/2 cup pesto sauce (store-bought or homemade) - 1 cup cooked quinoa or rice - 1/2 cup cherry tomatoes, halved - 1 cup shredded mozzarella cheese - 1/4 cup grated Parmesan cheese - 1 tablespoon olive oil - Salt and freshly ground black pepper - Fresh basil leaves for garnish These ingredients work well together. The bell peppers give color and crunch. The chicken adds protein and heartiness. Pesto sauce brings a rich flavor that ties everything together. Quinoa or rice adds a nice base, while tomatoes offer freshness. The mozzarella and Parmesan cheeses create a melty, savory topping. Using fresh ingredients makes a big difference in taste. Choose bright, firm peppers. If you can, use homemade pesto for a personal touch. It’s easy to make and adds a special flavor. For the best results, gather all your ingredients before you begin. This way, you can work smoothly and enjoy the process. For the full recipe, refer to the details above. - Preheat the oven to 375°F (190°C). - Slice the tops off the bell peppers and remove the seeds. - In a large bowl, combine shredded chicken, pesto, quinoa (or rice), and tomatoes. - Season with salt and pepper before mixing well. - Fill each pepper with the chicken mixture, pressing gently to pack it in. - Top with mozzarella and Parmesan cheese for that gooey, cheesy finish. - Bake covered for 25 minutes, then uncover and bake for an additional 10 minutes. This method ensures the peppers cook evenly and the flavors blend well. The cheese will melt beautifully, creating a tasty topping. Following these steps will lead you to a delicious dish that impresses everyone at the table. For the full recipe, check out the linked instructions. To cook chicken for shredding, use boneless chicken breasts. Place them in a pot with water and a pinch of salt. Bring to a boil, then reduce heat. Let it simmer for about 15-20 minutes. Once cooked, use two forks to shred the chicken. This method keeps the chicken tender and perfect for mixing with pesto. If you want to switch up the grains, try using farro or barley instead of quinoa or rice. Both grains add a nice texture and flavor to the stuffed peppers. You can also use couscous for a lighter option. Cook them according to package instructions before adding them to the chicken mixture. When serving stuffed peppers, pair them with a fresh side salad. A simple mix of greens, cucumber, and a lemon vinaigrette works great. You can also serve them with roasted vegetables for a colorful plate. For a stunning presentation, arrange the stuffed peppers on a bright platter. Drizzle some extra pesto around the peppers for flair. A few sprigs of fresh basil on top will make the dish pop with color. {{image_4}} You can easily adapt this dish for different diets. For a vegetarian option, replace the chicken with lentils or beans. Both options give you protein and a rich texture. If you choose lentils, cook them until soft. For beans, canned varieties work well; just rinse and drain before adding. If you need a gluten-free meal, make sure your pesto is gluten-free. Most store-bought pestos are safe, but always check the label. You can also use rice or quinoa, which are naturally gluten-free, as your base. You can customize flavors with spices or herbs. Try adding garlic powder or red pepper flakes for heat. Fresh herbs like thyme or oregano add a nice touch too. Mix these into your chicken and pesto filling for a burst of flavor. Experiment with different cheese types to change the taste. Cheddar or feta can give a unique twist. Each cheese melts differently, so feel free to explore until you find your favorite. To see the full recipe, check out the [Full Recipe]. Store your leftovers in airtight containers. Glass or plastic containers work great. Make sure to let the stuffed peppers cool to room temperature before sealing them. This helps keep them fresh. Place the containers in the fridge. They will stay good for about 3 to 4 days. If you want to keep them longer, consider freezing them. Just wrap each pepper tightly in plastic wrap before placing them in a freezer bag. To reheat your stuffed peppers, you have a few options. You can use the oven, microwave, or air fryer. If you choose the oven, preheat it to 350°F (175°C). Place the peppers in an oven-safe dish, cover with foil, and heat for about 20 minutes. This method keeps the texture intact. If you're short on time, the microwave works well. Just place a stuffed pepper on a microwave-safe plate. Heat it on high for 2 to 3 minutes, checking to make sure it’s hot throughout. For a crispy top, the air fryer is perfect. Preheat it to 350°F (175°C) and cook the peppers for about 5 to 7 minutes. This keeps the cheese nice and bubbly. Always check the temperature before eating. Enjoy your meal! Can I make Pesto Chicken Stuffed Peppers ahead of time? Yes, you can prepare the stuffed peppers a day before. Just fill them and store them in the fridge. When you're ready to cook, bake them straight from the fridge. How long do leftovers last in the fridge? Leftovers can stay fresh for about three to four days. Store them in an airtight container to keep them tasty. Can I freeze stuffed peppers? If so, how? Yes, you can freeze stuffed peppers. Wrap each pepper in plastic wrap and place them in a freezer bag. They can last for up to three months. What can I substitute for pesto if I don’t have it? If you don't have pesto, try using a mix of olive oil, garlic, and fresh herbs. You can also use a store-bought sauce like marinara. Are there any low-carb alternatives for this recipe? Yes, you can use cauliflower rice instead of quinoa or regular rice. This keeps the meal low in carbs while still packed with flavor. For the full recipe, check out the details provided earlier. This blog post detailed a tasty recipe for Pesto Chicken Stuffed Peppers. We covered the ingredients you need, like chicken, quinoa, and vibrant bell peppers. You learned how to mix, stuff, and bake your peppers to perfection. Try different flavors with my tips for variations and storage. These easy stuffed peppers make a fun meal to enjoy and share. The recipe is flexible, so you can make it your own and suit your taste. Enjoy cooking and tasting your creation!](https://purelyyumrecipes.com/wp-content/uploads/2025/07/6a001083-4b31-4de6-a619-1a1b9f4b4ee8-768x768.webp)