FREE DINNER EBOOK!
Get your copy!
Cookie Policy
GDPR Policy
Disclaimer
Terms Of Use
Visit my other site:
Fun Cookie Recipes
Home
Dinner
Desserts
Drinks
Appetizers
Contact
About
Privacy Policy
Home
Dinner
Desserts
Drinks
Appetizers
Contact
About
Privacy Policy
Cookie Policy
GDPR Policy
Disclaimer
Terms Of Use
Visit my other site:
Fun Cookie Recipes
HOME / CATEGORIES /
Latest
Tropical Dragon Fruit Smoothie Fresh and Quick Recipe
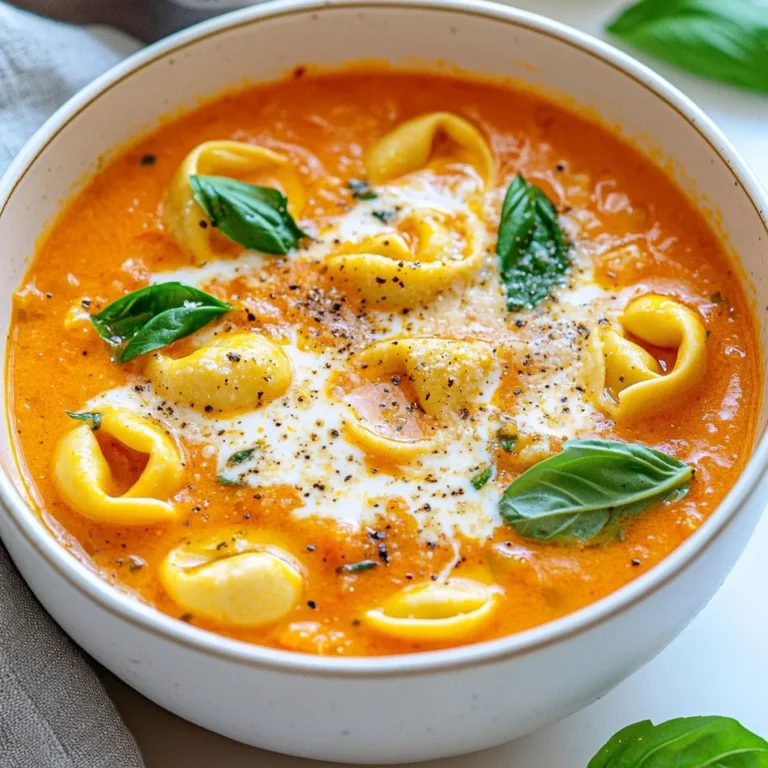
Creamy Tomato Tortellini Soup Flavorful and Easy Meal
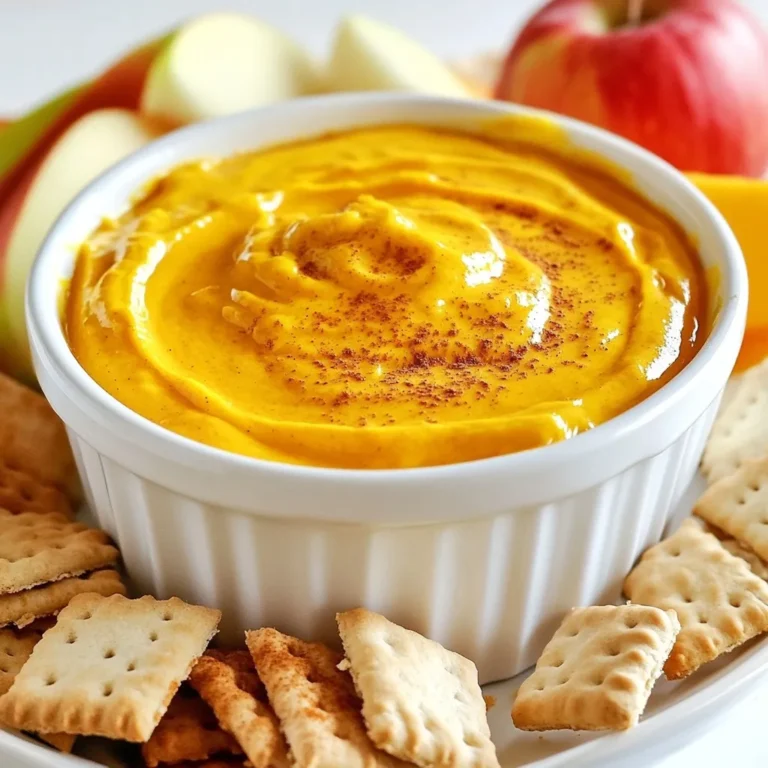
Pumpkin Cheesecake Dip Delightful and Simple Recipe
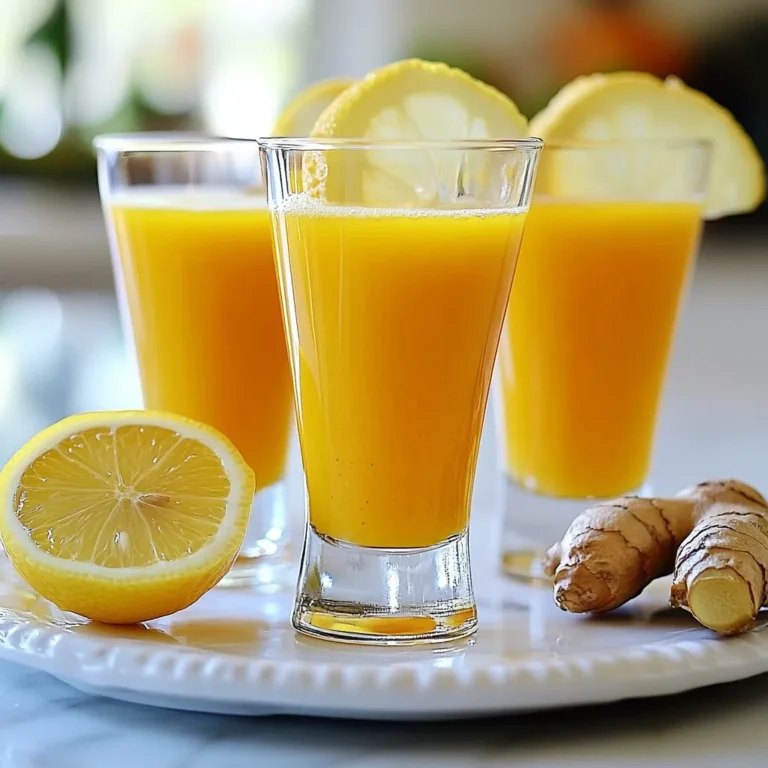
Ginger Turmeric Immunity Shot Boosts Your Health
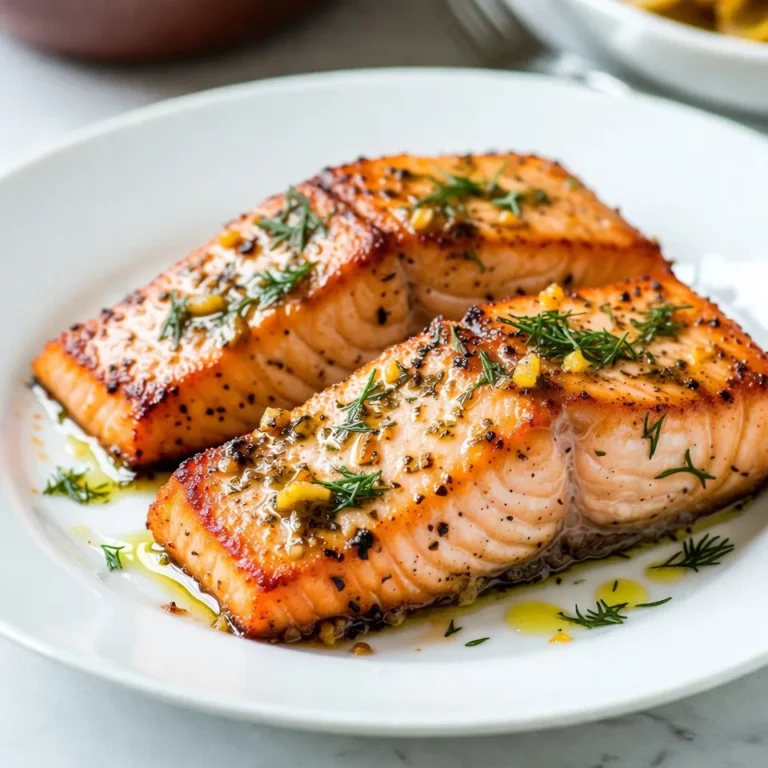
Lemon Garlic Air Fryer Salmon Quick and Tasty Dish
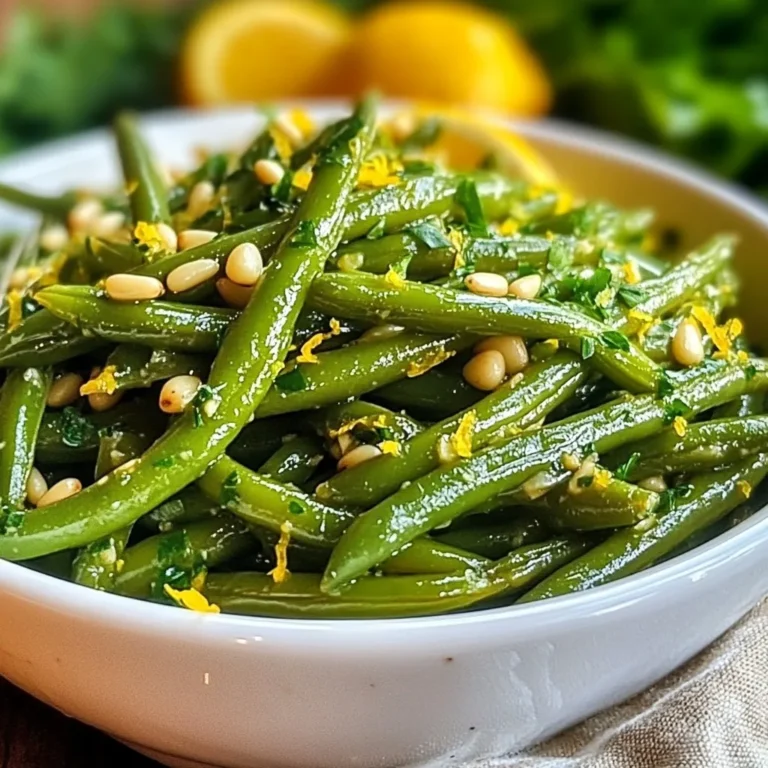
Lemon Garlic Green Beans Flavorful and Easy Recipe
Raspberry Lemonade Cupcakes Delightful Sweet Treat
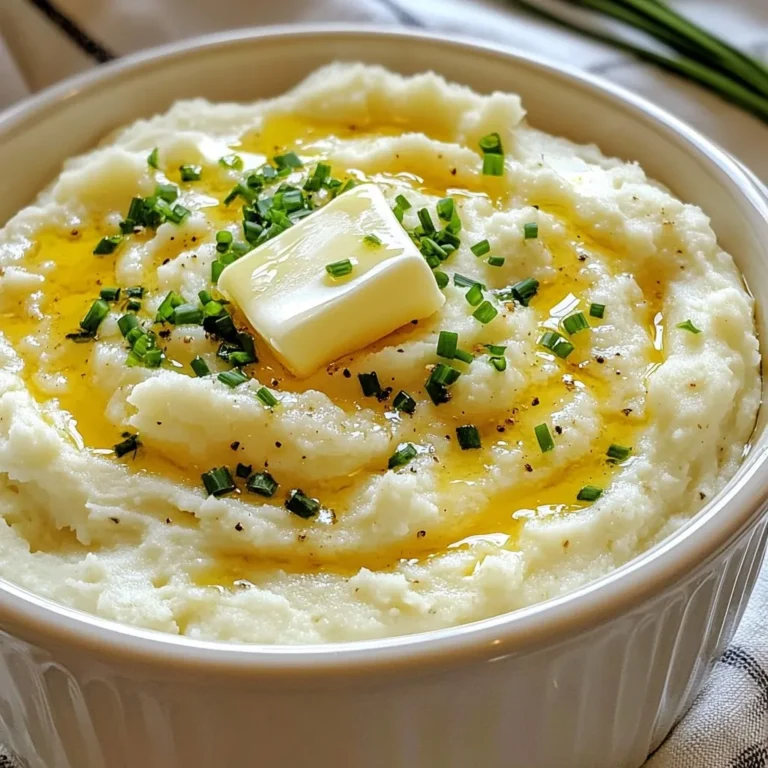
Creamy Garlic Mashed Cauliflower Simple Side Dish
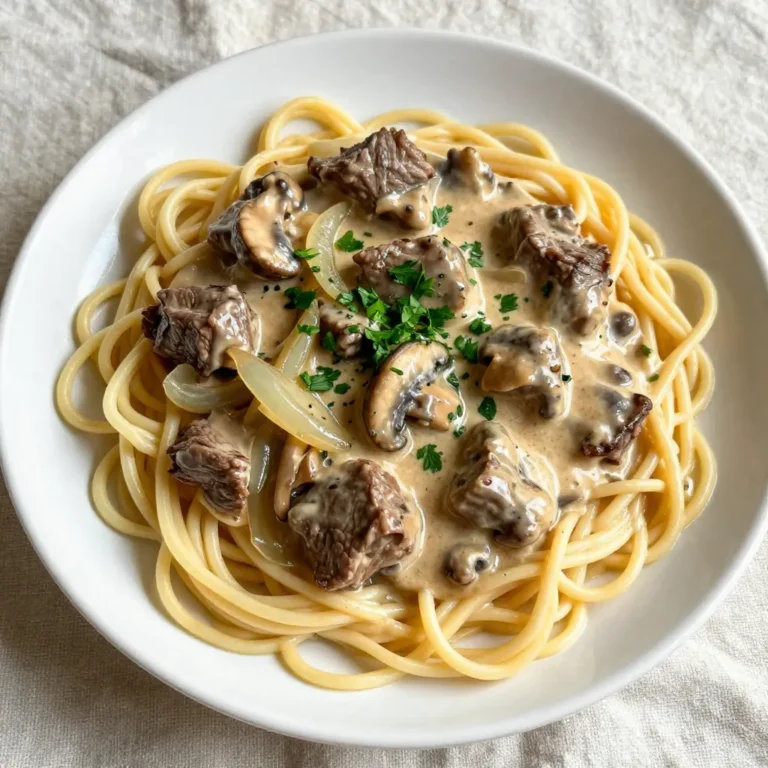
Instant Pot Beef Stroganoff Quick and Tasty Recipe
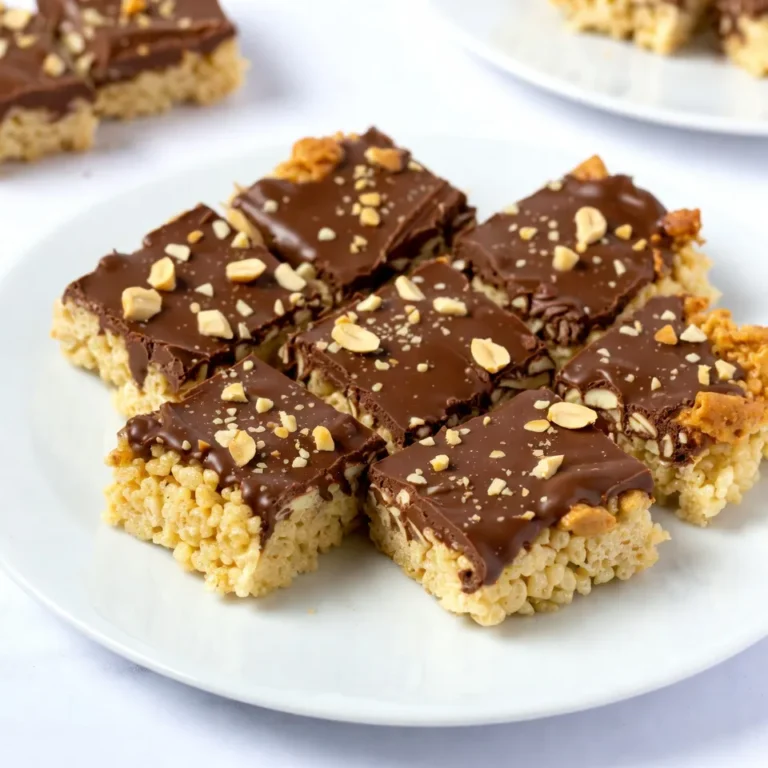
Chocolate Peanut Butter Rice Krispie Treats Delight
PREV
1
2
3
…
48
NEXT