FREE DINNER EBOOK!
Get your copy!
Cookie Policy
GDPR Policy
Disclaimer
Terms Of Use
Visit my other site:
Fun Cookie Recipes
Home
Dinner
Desserts
Drinks
Appetizers
Contact
About
Privacy Policy
Home
Dinner
Desserts
Drinks
Appetizers
Contact
About
Privacy Policy
Cookie Policy
GDPR Policy
Disclaimer
Terms Of Use
Visit my other site:
Fun Cookie Recipes
HOME / CATEGORIES /
Latest
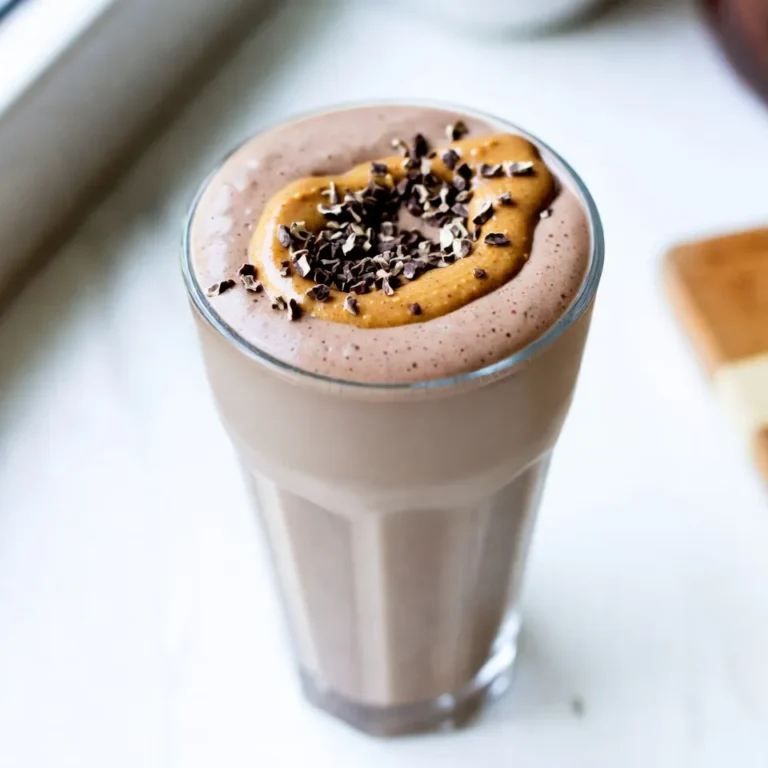
Peanut Butter Chocolate Protein Smoothie Delight
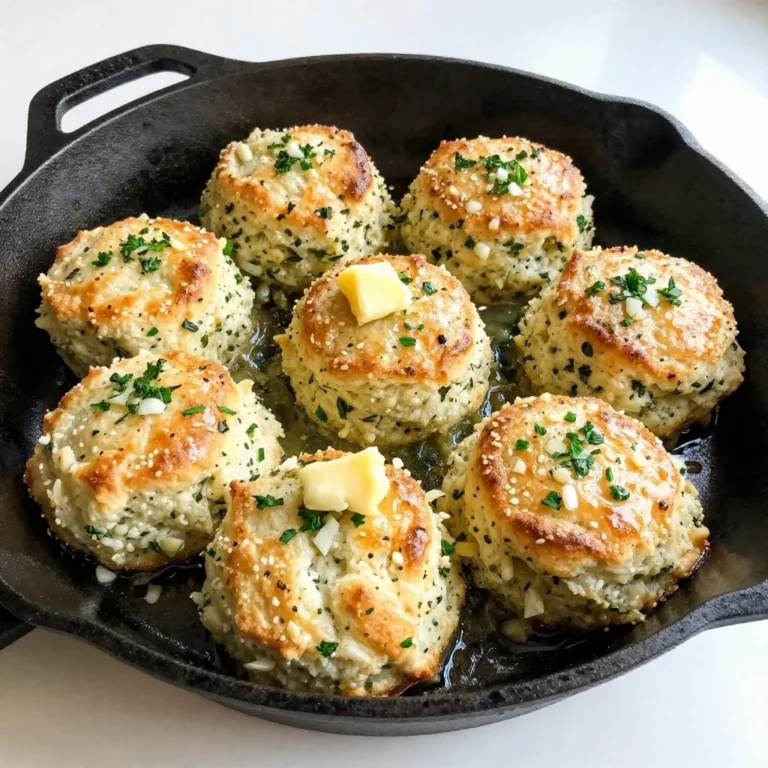
Garlic Herb Skillet Biscuits Fluffy and Flavorful Treat
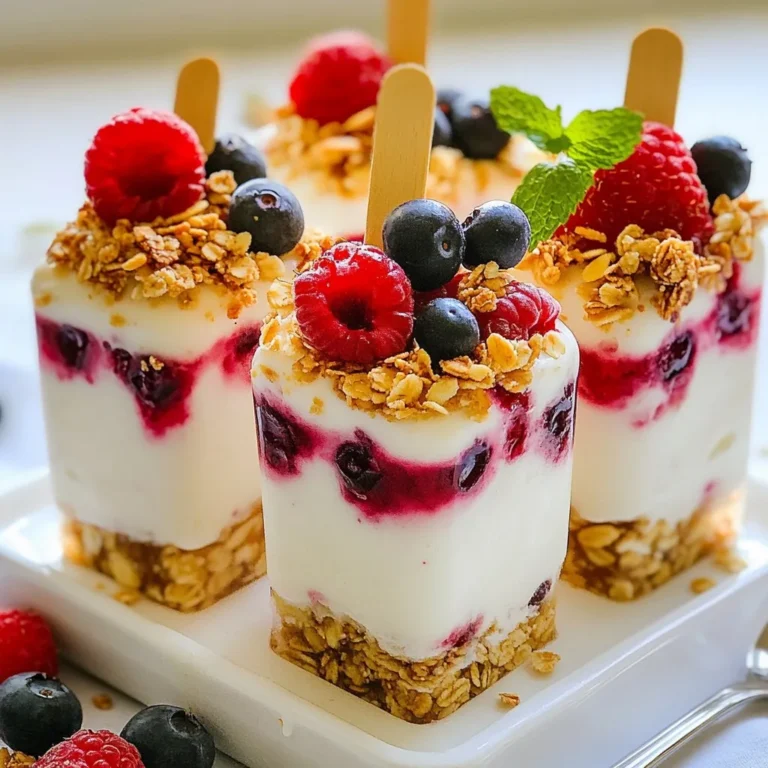
Berry Yogurt Parfait Pops Refreshing Summer Treat
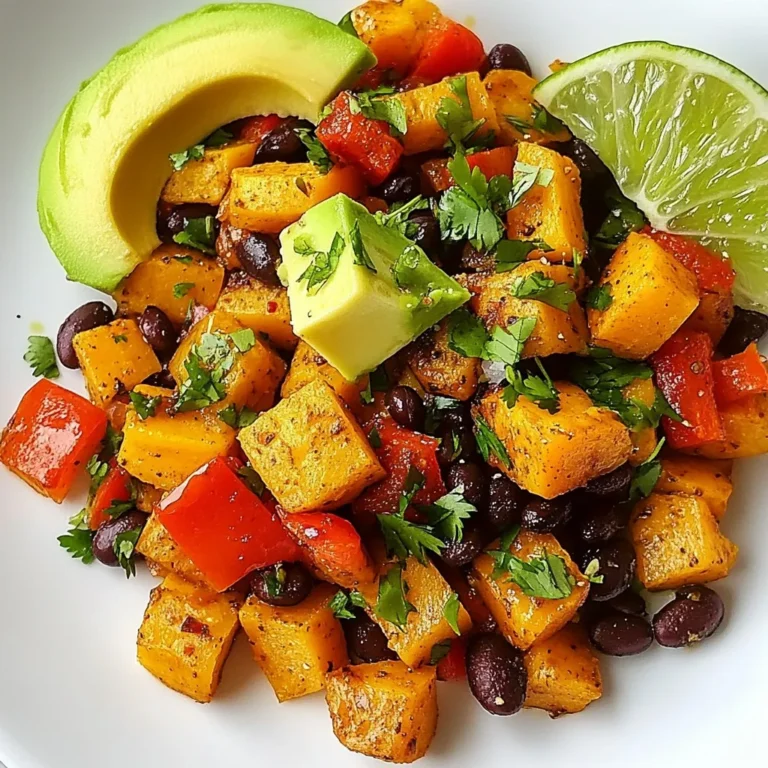
Southwest Sweet Potato Skillet Flavorful and Easy Dish
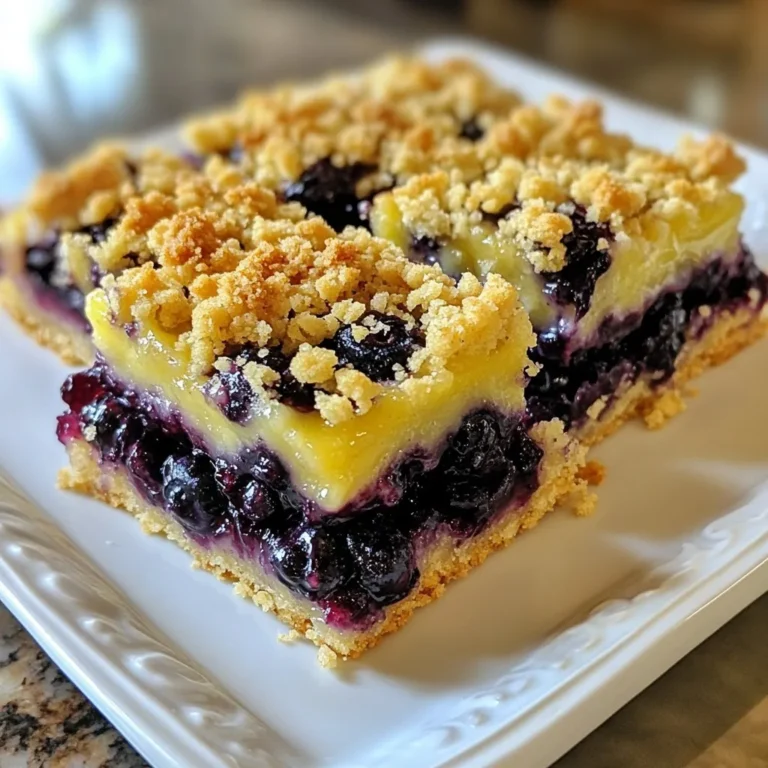
Blueberry Crumble Bars Satisfying Easy Dessert Recipe
Garlic Parmesan Smashed Potatoes Irresistible Side Dish
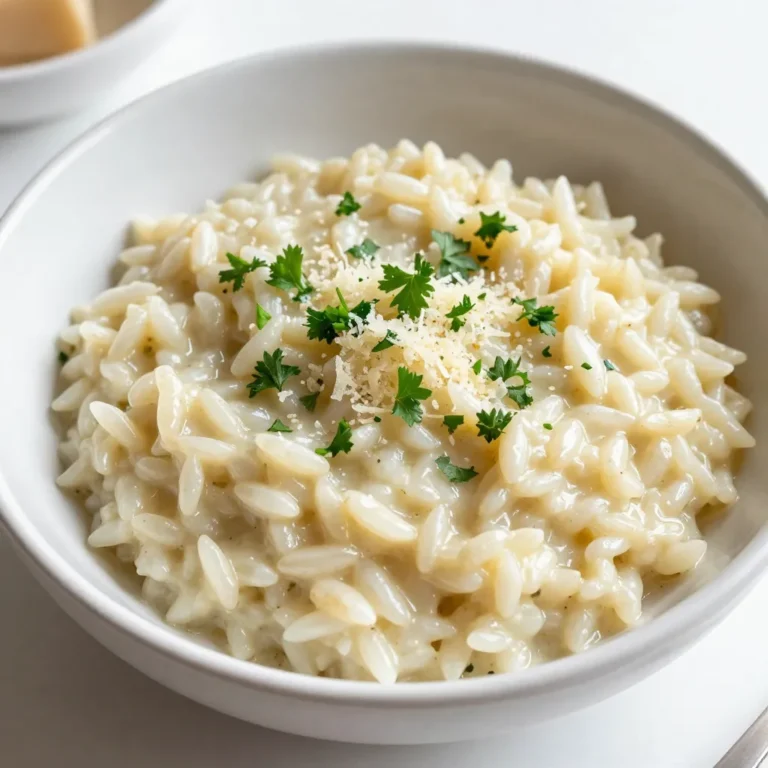
Creamy Garlic Parmesan Risotto Savory Delight to Savor
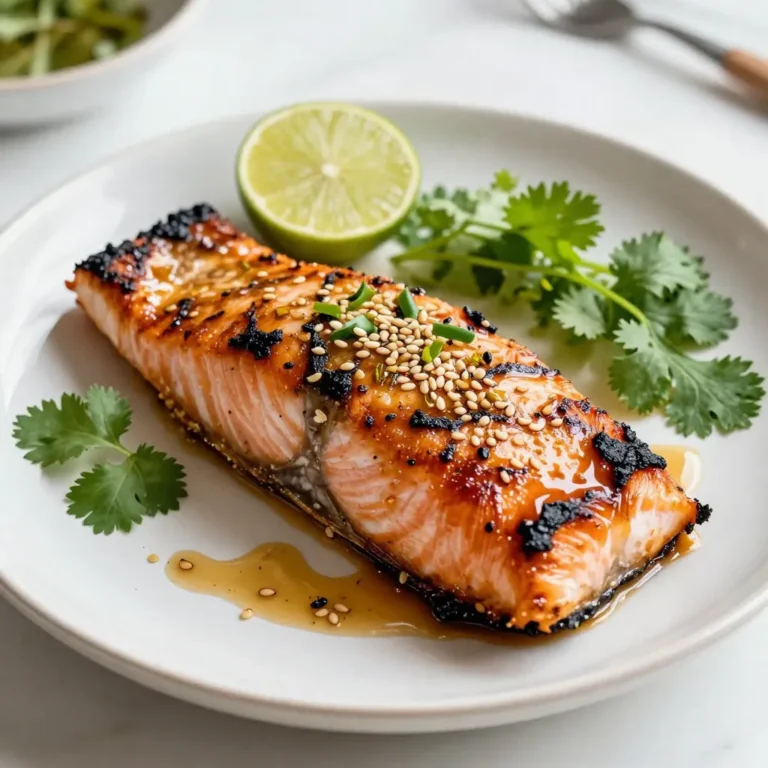
Ginger Soy Grilled Salmon Flavorful and Easy Recipe
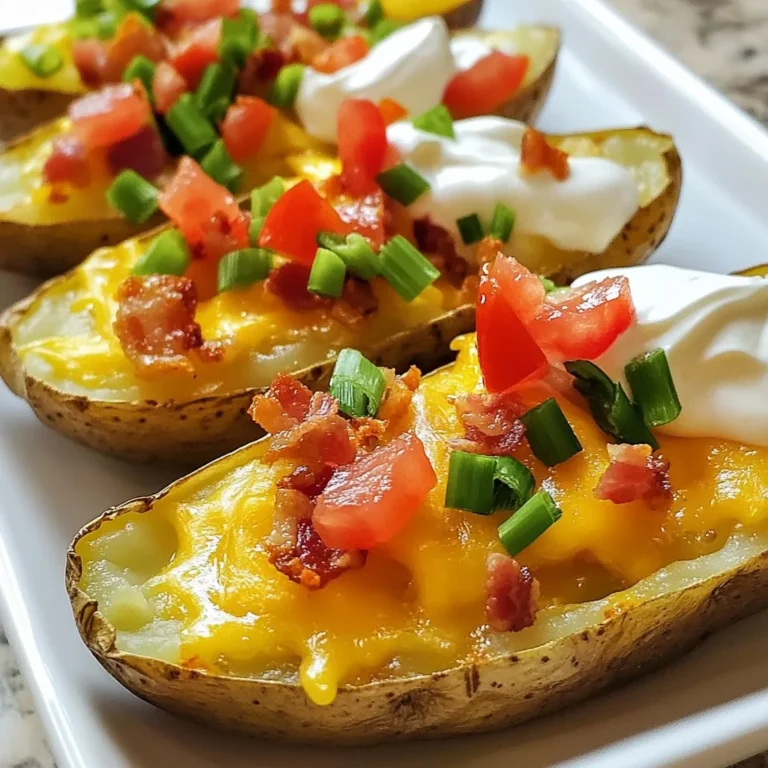
Cheesy Loaded Potato Skins Irresistible Snack Idea
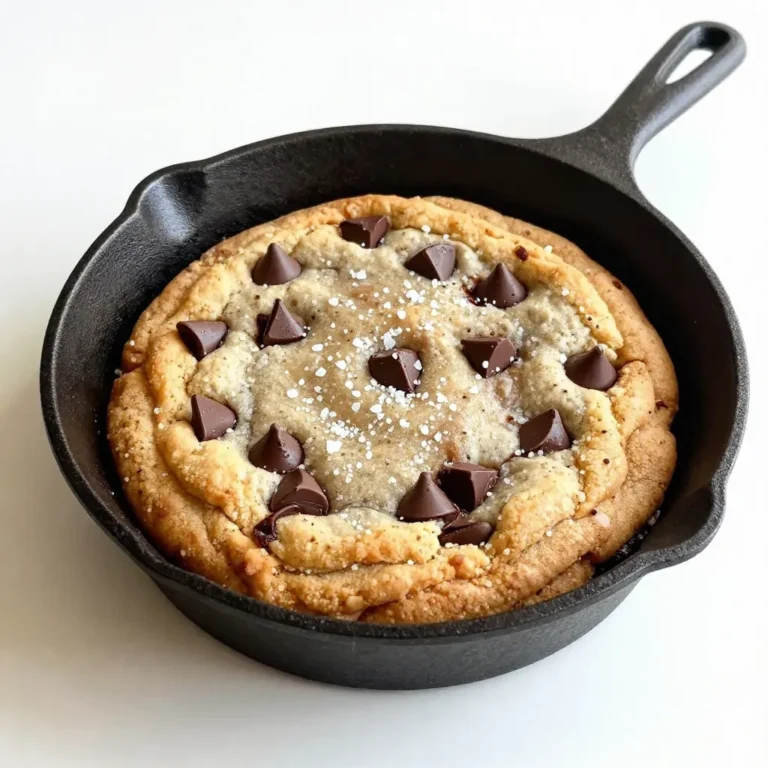
Chocolate Chip Skillet Cookie Irresistible Dessert Treat
PREV
1
2
3
4
…
48
NEXT