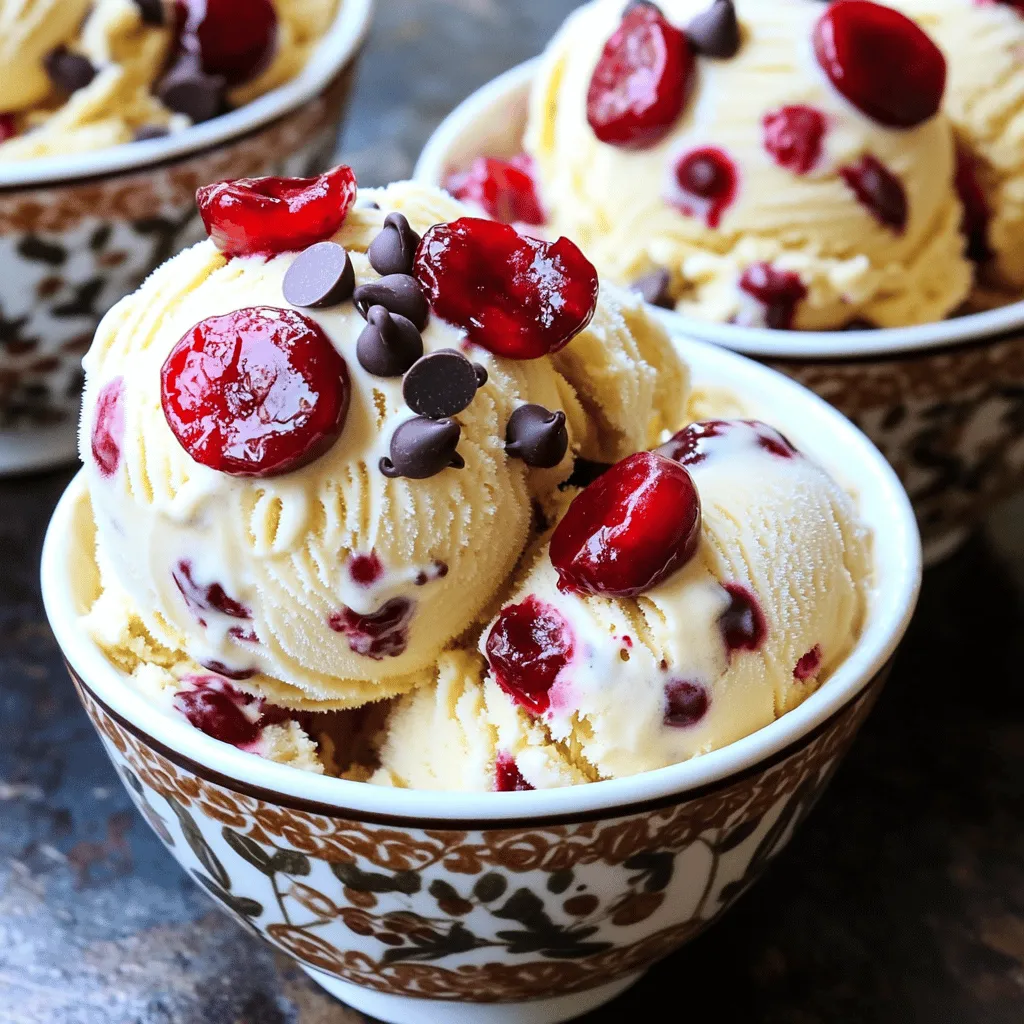
Do you crave the delightful taste of Cherry Garcia ice cream? You’re in luck! In this simple recipe guide, I’ll show you how to create a homemade version that rivals the beloved classic. With easy-to-find ingredients and clear steps, you can enjoy creamy, cherry-filled delight in no time. Let’s dive in and bring this sweet treat to life right in your kitchen!
Ingredients
List of Required Ingredients
– 2 cups heavy cream
– 1 cup whole milk
– 3/4 cup granulated sugar
– 1 teaspoon pure vanilla extract
– 1/2 teaspoon almond extract
– 1 cup cherry pie filling or 1 cup fresh cherries, pitted and halved
– 1/2 cup dark chocolate chips
To make Cherry Garcia ice cream, you need a few simple items. Heavy cream gives it a rich base. Whole milk adds creaminess, while granulated sugar sweetens it just right. The vanilla and almond extracts bring out the flavors. Cherries add a fruity burst, and dark chocolate chips make it extra special.
Optional Ingredients and Substitutes
– Dairy-free alternatives
– Low-sugar options
– Flavor variations
You can play with the recipe! For a dairy-free version, use coconut cream instead of heavy cream. There are low-sugar options too, like using a sugar substitute. Want a twist? Try adding different fruits like strawberries or blueberries. Each change brings new fun to your Cherry Garcia ice cream adventure!
Step-by-Step Instructions
Preparation of Ice Cream Base
Start by mixing the cream, milk, and sugar in a large bowl. Use a whisk to blend these ingredients well. Mix until the sugar dissolves completely, which takes about 2-3 minutes. You want a smooth, creamy base. Next, add the pure vanilla and almond extract to the mix. Stir until both extracts blend in fully.
Incorporating Cherries and Chocolate
You can choose between cherry pie filling or fresh cherries for this recipe. If you use fresh cherries, pit and halve them first. Gently fold them into the cream mixture. If you want to use cherry pie filling, add it carefully. This way, you keep some chunks for texture. Now, it’s time to add the dark chocolate chips. Sprinkle them in and fold them evenly into the mixture. This ensures you get a burst of flavor in every scoop.
Churning and Freezing Process
Pour your cherry-infused cream mixture into your ice cream maker. Churn according to the instructions. This usually takes about 20-25 minutes. You want a soft, creamy texture. After churning, transfer the ice cream to an airtight container. Smooth the top and seal it tightly. Place the container in the freezer for at least 4 hours. This allows the ice cream to firm up, making it easy to scoop.
Tips & Tricks
Achieving the Perfect Texture
To get the best texture, focus on churning time. Churn your ice cream for about 20-25 minutes. This helps it become fluffy and smooth. If you churn too little, it might be icy. If you churn too long, it could turn into butter.
Next, monitor the freezing process. After churning, transfer the ice cream to a container. Freeze it for at least 4 hours. This allows it to firm up and become scoopable.
Flavor Enhancements
Want more cherry or chocolate flavor? Add an extra half cup of cherry pie filling. You can also increase the dark chocolate chips to 3/4 cup. Both options make your ice cream richer.
For fun, try adding mix-ins. Crushed nuts, cookie bits, or even a swirl of caramel can change the game. Mix in these extras just before you stop the churn.
Serving Suggestions
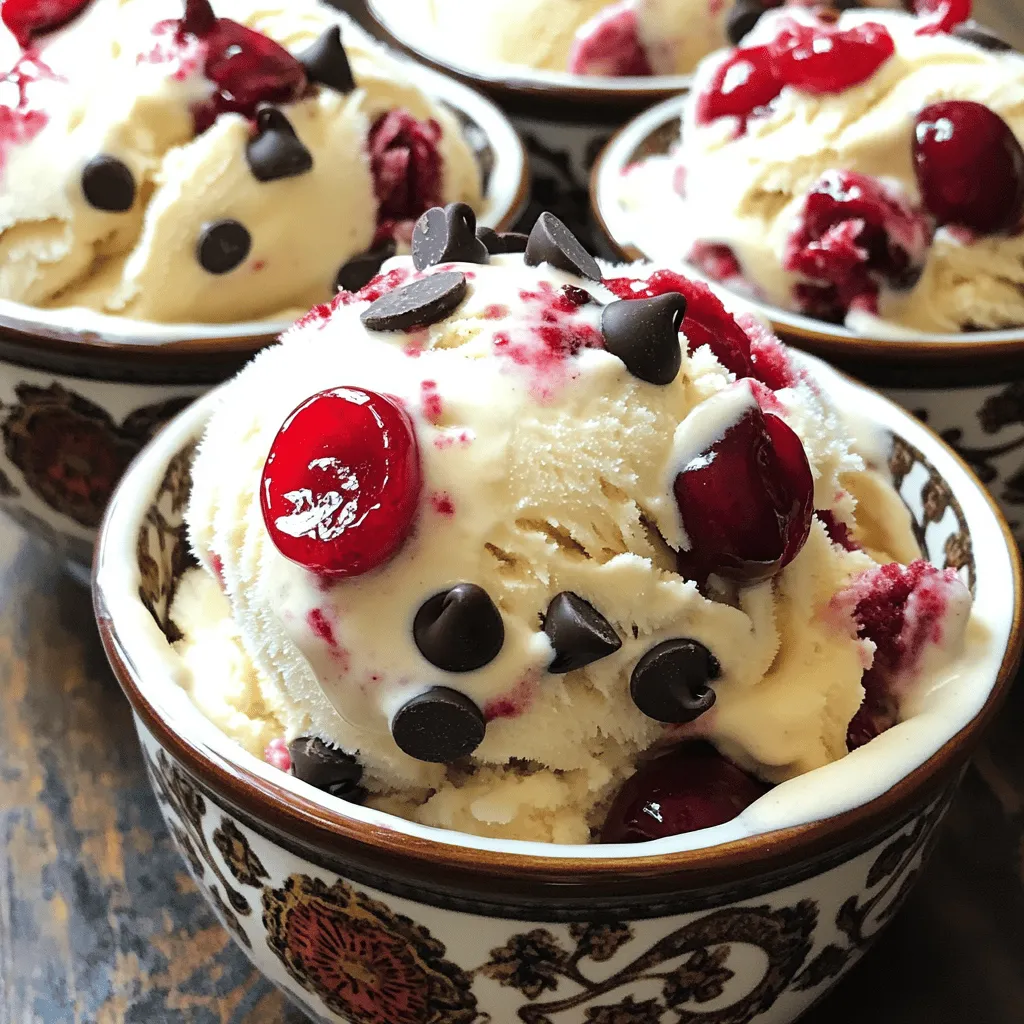
For a lovely presentation, serve your Cherry Garcia ice cream in colorful bowls. Top it with more cherries and a sprinkle of chocolate chips. A mint leaf adds a nice touch too.
For a treat, pair your ice cream with a slice of pie or a warm brownie. It creates a great contrast of warm and cold. Enjoy your homemade delight!
Variations
Dietary-Friendly Options
You can make a vegan Cherry Garcia ice cream. Start with coconut cream or almond milk. These options give a rich base. Use maple syrup instead of sugar. This keeps it sweet and tasty.
For a gluten-free version, check your chocolate chips. Some brands add gluten. Use certified gluten-free varieties. This way, everyone can enjoy your treat!
Seasonal Twists
You can change up the fruits in this recipe. Try strawberries or raspberries for a summer twist. Mix in some mint for a refreshing flavor.
For the holidays, think about adding spices. A hint of cinnamon or nutmeg makes it special. You can also use festive colors with red fruits or green mint. It adds a fun touch for parties!
Storage Info
Proper Storage Techniques
To keep your Cherry Garcia ice cream fresh, follow these steps:
– Airtight Containers: Use containers that seal tightly. This prevents ice crystals and keeps the flavor fresh.
– Freezing: Freeze the ice cream as soon as you make it. The longer it sits out, the more air gets in, which can change texture.
– Layer with Plastic Wrap: For extra protection, place plastic wrap on the surface before sealing the lid. This helps keep moisture out.
Shelf Life and Signs of Spoilage
How long does Cherry Garcia ice cream last in the freezer?
– Freezer Duration: Generally, it lasts about 2-3 weeks in the freezer. After that, it may lose flavor and texture.
What should you look for when checking for quality?
– Ice Crystals: If you see big ice crystals, the texture may be off.
– Off Smells: If it smells funny or sour, it’s best to toss it.
– Color Changes: Any dark spots or unusual colors can mean spoilage.
By following these tips, you can enjoy your homemade Cherry Garcia ice cream at its best, straight from the freezer!
FAQs
How can I make Cherry Garcia ice cream without an ice cream maker?
You can make Cherry Garcia ice cream by hand. First, mix your cream, milk, and sugar. Then, whisk until smooth. Pour the mix into a shallow dish. Freeze it for about 45 minutes. Stir it every 30 minutes. This helps break up ice crystals. Repeat this until it is creamy.
What can I substitute for heavy cream?
If you need a heavy cream substitute, try coconut cream. This adds a rich flavor. You can also use cashew cream for a nutty taste. Soy or almond milk works too, but it will change the texture. Each option will impact the final taste, so choose based on your preference.
Can I use frozen cherries in this recipe?
Yes, frozen cherries work well! Thaw them before use. Mash them slightly to release juice. This adds flavor to your ice cream. Mix them in gently. This keeps some cherry pieces intact for bites of fruit in your ice cream.
How do I fix icy ice cream?
If your ice cream is icy, it may need more fat. Try adding more cream next time. You can also ensure it churns long enough. The more air you whip in, the creamier it gets. Store it in a proper container to avoid freezer burn.
Making your own Cherry Garcia ice cream is simple and fun. This blog post covered key ingredients, step-by-step instructions, and tips for perfect texture. We explored variations for different diets and offered storage advice to keep it fresh. Overall, this recipe allows you to enjoy a classic treat tailored to your taste. With a few easy changes, you can make it your own. Dive into this delicious treat, and enjoy every scoop!