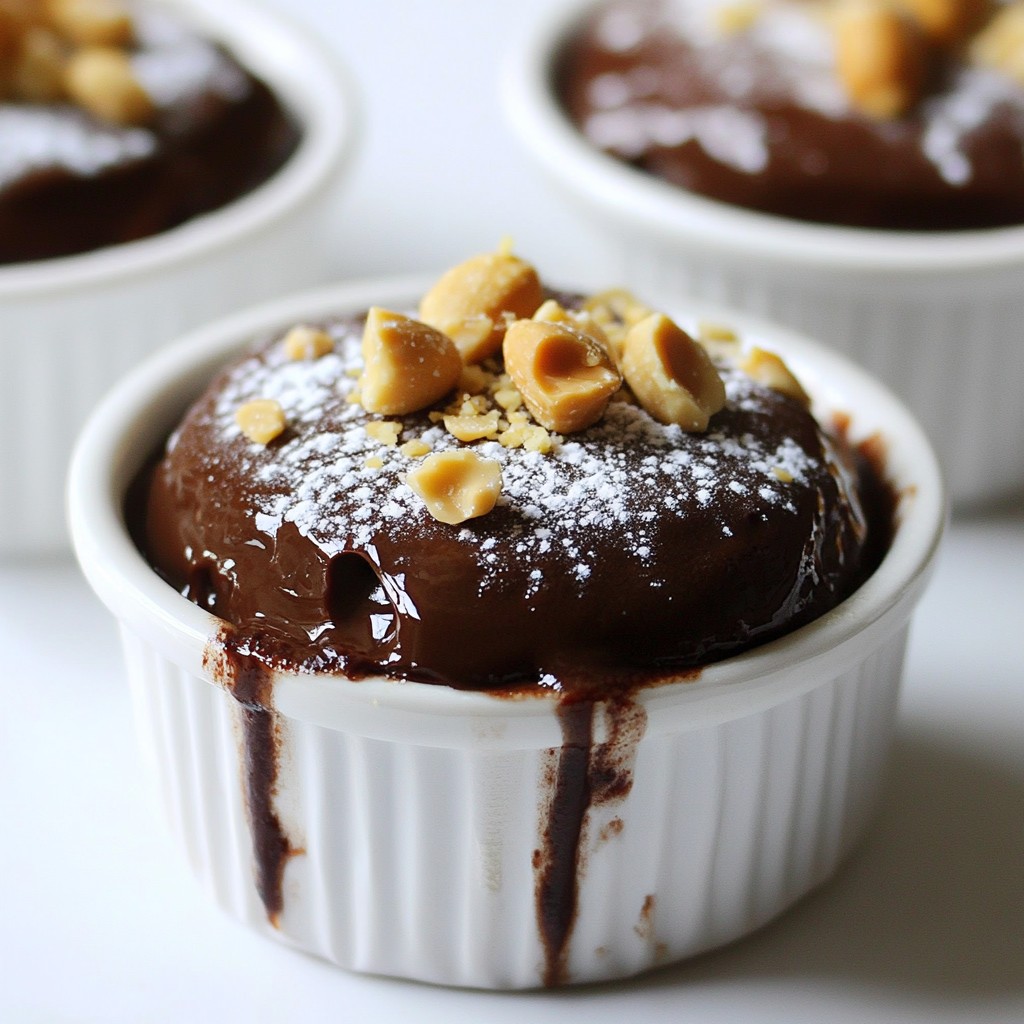
Imagine a warm, gooey cake that spills rich chocolate and creamy peanut butter with each bite. That’s the magic of Chocolate Peanut Butter Lava Cake! In this post, I’ll guide you through an easy recipe that is sure to wow your guests or treat yourself. With simple ingredients and step-by-step instructions, you’ll create an indulgent delight that’s perfect for any occasion. Get ready to impress with this sweet masterpiece!
Why I Love This Recipe
- Decadent Flavor: This dessert combines rich chocolate and creamy peanut butter, creating a mouthwatering experience that satisfies any sweet tooth.
- Easy to Make: With simple ingredients and straightforward steps, you can whip up these lava cakes in no time, perfect for both novice and experienced bakers.
- Impressive Presentation: The molten center makes for a stunning reveal when served, impressing guests and making any occasion feel special.
- Customizable: You can easily modify the recipe by adding your favorite toppings or serving with ice cream for added texture and flavor contrast.
Ingredients
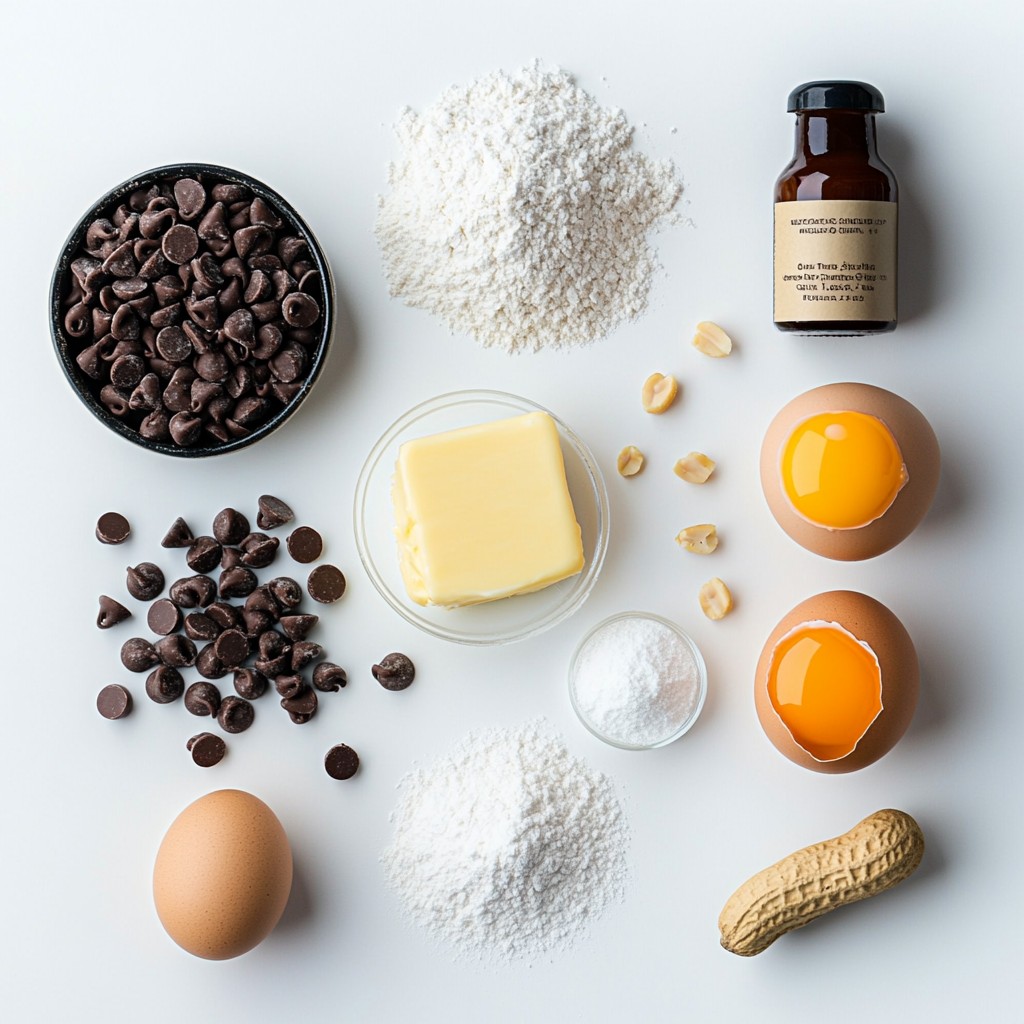
List of Ingredients
- 1/2 cup unsalted butter
- 1 cup semi-sweet chocolate chips
- 1/2 cup powdered sugar
- 2 large eggs
- 2 large egg yolks
- 1 teaspoon vanilla extract
- 1/4 cup all-purpose flour
- 1/4 teaspoon salt
- 1/4 cup creamy peanut butter
- Optional garnishes: powdered sugar, crushed peanuts
To create this treat, start with simple ingredients. You need butter and chocolate for richness. The combination of eggs and yolks gives the cake its structure. Powdered sugar adds sweetness, while vanilla and salt enhance the flavor.
You can use any brand of semi-sweet chocolate chips you like. Just make sure they are of good quality. This choice affects the taste. The creamy peanut butter will bring a rich texture and nutty flavor to the center.
For garnishing, powdered sugar adds a nice touch. Crushed peanuts give a crunchy contrast. Don’t skip these if you want to impress!
Keep these ingredients handy, and you will be ready to make a delightful dessert.
Step-by-Step Instructions
Preheating the Oven
To start, preheat your oven to 425°F (220°C). This high heat helps create that perfect molten center. While the oven warms, take four ramekins. Grease each one with unsalted butter. Then, lightly dust the insides with flour. This step helps the cakes pop right out after baking.
Melting Butter and Chocolate
Next, we need to melt the butter and chocolate. In a microwave-safe bowl, mix 1/2 cup of unsalted butter with 1 cup of semi-sweet chocolate chips. Heat this mixture in the microwave. Go for 30 seconds at a time, stirring well after each round. Keep doing this until it turns smooth and shiny. Let it cool for a few minutes before you mix it with other ingredients.
Combining Ingredients
Once the chocolate mix has cooled, stir in 1/2 cup of powdered sugar. Make sure it blends well and is thick. Next, add 2 large eggs and 2 large egg yolks into the bowl. Mix them in thoroughly. Look for a smooth blend with no egg streaks.
Adding Flavor and Dry Ingredients
Now, it's time to add some flavor. Pour in 1 teaspoon of vanilla extract. Then, gently add 1/4 cup of all-purpose flour and 1/4 teaspoon of salt. Fold the mixture together carefully. You want to combine it without overmixing. It’s okay if a few lumps remain.
Filling Ramekins
Now that our batter is ready, it’s time to fill the ramekins. Distribute the batter evenly among the four ramekins. Fill them halfway up. In the center of each batter-filled ramekin, add a teaspoon of creamy peanut butter. Spoon more batter over the peanut butter until each ramekin is about three-quarters full.
Baking and Serving
Place the filled ramekins in the preheated oven. Bake them for 12-14 minutes. Look for the edges set while the centers still jiggle slightly. This ensures each cake has that gooey lava center. Once done, let the cakes cool for exactly 1 minute. To serve, run a knife around the edges of each ramekin. Invert them onto a plate quickly. The cakes should slide out easily. For a special touch, dust the tops with powdered sugar and sprinkle crushed peanuts around for added crunch.
Tips & Tricks
Perfecting the Lava Texture
To get the best lava texture, timing is key. Bake the cakes for just 12 to 14 minutes. The edges should look set, but the center should still jiggle. This jiggle means you will get that rich, gooey lava when you cut into it.
To check for doneness, gently poke the center with a toothpick. If it comes out clean, it is cooked too much. You want it to have some batter on it. Remember, less is more here!
Serving Suggestions
For presentation, serve the lava cake warm. This helps the gooey center flow out when you cut it. You can dust the top with powdered sugar for a nice touch. Crushed peanuts around the cake add crunch and color.
Pair the lava cake with a scoop of vanilla ice cream. The cold ice cream balances the warm, rich cake perfectly. You can also try whipped cream for a lighter touch.
Common Mistakes to Avoid
One common mistake is overmixing the batter. Mix just until you see no flour. A few lumps are okay! Overmixing can make the cake tough and chewy, which we want to avoid.
Also, choose the right chocolate. Use semi-sweet chocolate chips for a great taste. Dark chocolate can be too bitter, while milk chocolate may be too sweet. Stick with semi-sweet for the best lava experience!
Pro Tips
- Use Room Temperature Ingredients: Allow your eggs and butter to come to room temperature for a smoother batter that blends more easily.
- Check Your Oven Accuracy: Every oven is different; consider using an oven thermometer to ensure your baking temperature is accurate for perfect lava cakes.
- Don’t Overbake: The key to a gooey center is to keep an eye on the baking time; a minute or two too long can ruin the molten effect.
- Experiment with Fillings: Try different nut butters or even chocolate hazelnut spread for a unique twist on the classic lava cake.
Variations
Flavor Variations
You can change the flavor of your lava cake easily. Try using dark chocolate instead of semi-sweet for a rich taste. If you prefer something sweeter, go for milk chocolate. Each choice gives a unique twist to the dish. You can also switch the peanut butter. Almond or cashew butter works well too. These nutty flavors add a fun touch and new texture to your lava cake.
Dietary Substitutions
If you need gluten-free options, use almond flour instead of all-purpose flour. This keeps your cake just as tasty. For vegan versions, swap the eggs with flax eggs or applesauce. Use dairy-free chocolate and a plant-based butter. These changes make the dessert fit many diets without losing its charm.
Seasonal Twists
You can add seasonal flavors to match the time of year. Try a hint of peppermint for winter, or add orange zest for a bright summer feel. These small changes can bring excitement to the dish. For holidays, think about decorating your cakes with festive sprinkles or edible glitter. This adds a fun look and makes your dessert perfect for any celebration.
Storage Info
Storing Leftovers
To keep your chocolate peanut butter lava cake fresh, store it in the fridge. Place the cooled cakes in an airtight container. This way, they will stay moist and tasty for up to three days. If you have extra cakes, you can freeze them too. Wrap each one tightly in plastic wrap and then place them in a freezer bag. This helps prevent freezer burn. They can last in the freezer for up to a month.
Reheating Techniques
When you're ready to enjoy your leftover lava cake, reheating is key. The best way to do this is in the microwave. Heat it for about 10 to 15 seconds. Check it often to avoid overcooking. You want that gooey center to stay intact. If you prefer the oven, preheat it to 350°F (175°C). Place the cake on a baking sheet and heat for about 5 minutes. This method keeps the texture nice and soft.
Shelf Life
Your lava cake will stay tasty for a short time. If stored in the fridge, it will be good for three days. When frozen, it can last up to a month. Just remember to check for any signs of spoilage before you dig in. Always trust your senses; if it smells or looks off, it’s best to toss it out. Enjoy this treat while it's fresh for the best flavor!
FAQs
How do I know when the lava cake is done?
You can tell the lava cake is done when the edges are set. The center should still jiggle slightly. This jiggle means the lava will flow out when you cut into it. If the center is firm, the cake is overbaked.
Can I make the batter ahead of time?
Yes, you can make the batter ahead of time. Prepare the batter, then cover it and chill in the fridge. When you’re ready to bake, fill the ramekins and bake as usual. Just add an extra minute or two to the bake time if the batter is cold.
What should I serve with chocolate peanut butter lava cake?
I recommend serving the lava cake warm. A scoop of vanilla ice cream pairs well with the rich chocolate. Fresh berries or a drizzle of caramel sauce can add a nice touch. Coffee or dessert wine also complements the flavors well.
Can I use muffin tins instead of ramekins?
Yes, you can use muffin tins. Just remember to adjust the baking time. Bake for about 10-12 minutes instead. The texture may be slightly different, but the cake will still taste great.
Is there a way to make this dessert healthier?
You can make the dessert healthier by reducing sugar and fat. Use applesauce instead of some butter. Try dark chocolate with less sugar. You can also use a sugar substitute if you prefer.
This blog post covered everything you need to know about making chocolate peanut butter lava cake. We explored ingredients, step-by-step instructions, tips, variations, storage, and FAQs. I shared details on baking times and ways to avoid common mistakes.
You can create a delicious dessert that wows everyone. With practice, you’ll master the perfect lava texture and impress your guests. Enjoy your baking journey!