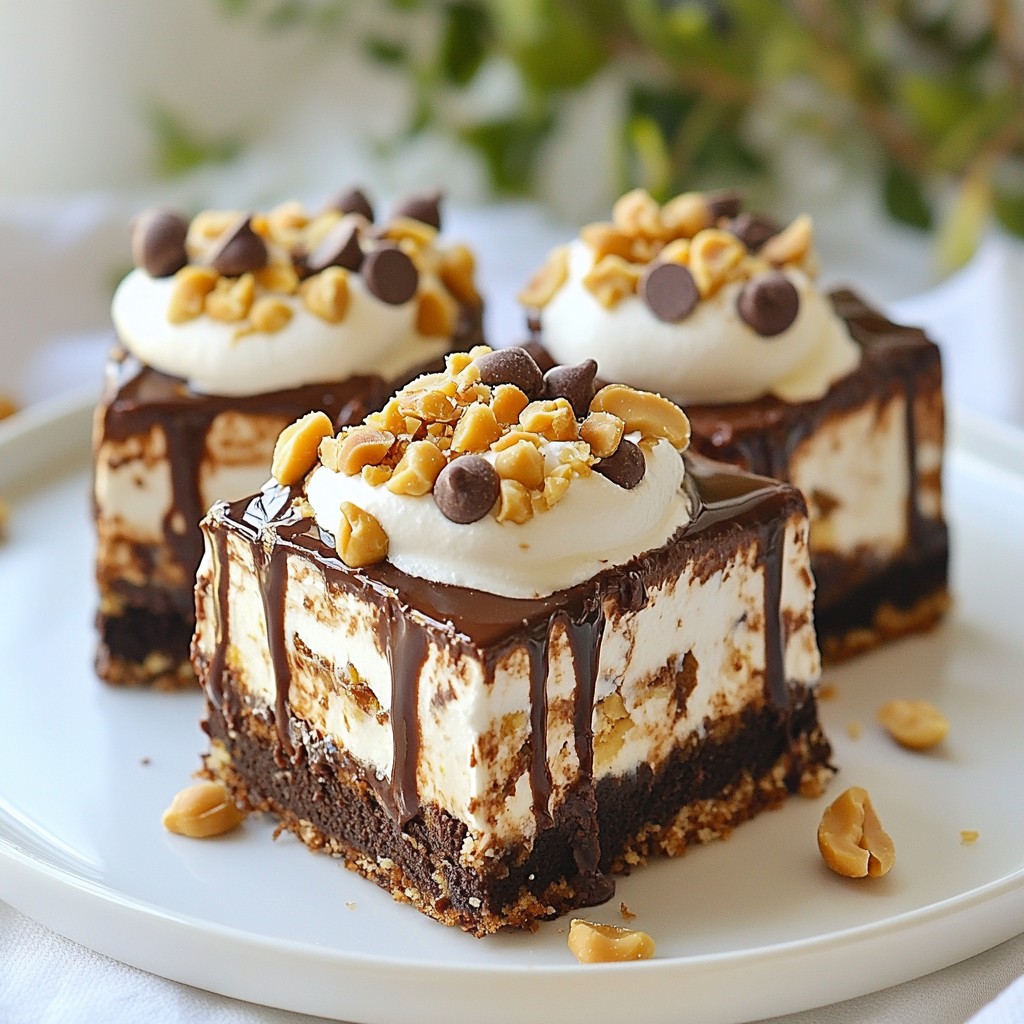
Indulge your sweet tooth with my Chocolate Peanut Butter Poke Cake! This decadent dessert brings together rich chocolate and creamy peanut butter in a fun, moist treat. Whether you're hosting a party or just want a special dessert, this cake will impress. Easily customizable, it's perfect for anyone craving something delicious. Ready to learn how to whip it up? Let’s dive into the tasty details!
Why I Love This Recipe
- Indulgent Flavor Combination: The rich chocolate cake perfectly pairs with creamy peanut butter, creating a decadent taste that chocolate and peanut butter lovers will adore.
- Easy to Make: Utilizing a boxed cake mix streamlines the preparation process, making this dessert accessible even for novice bakers.
- Impressive Presentation: The layers of chocolate syrup, whipped topping, and toppings make for a visually stunning cake that’s sure to impress guests.
- Make-Ahead Option: This poke cake is best served chilled after a few hours in the refrigerator, making it a convenient dessert option for gatherings or potlucks.
Ingredients
Main Ingredients for Chocolate Peanut Butter Poke Cake
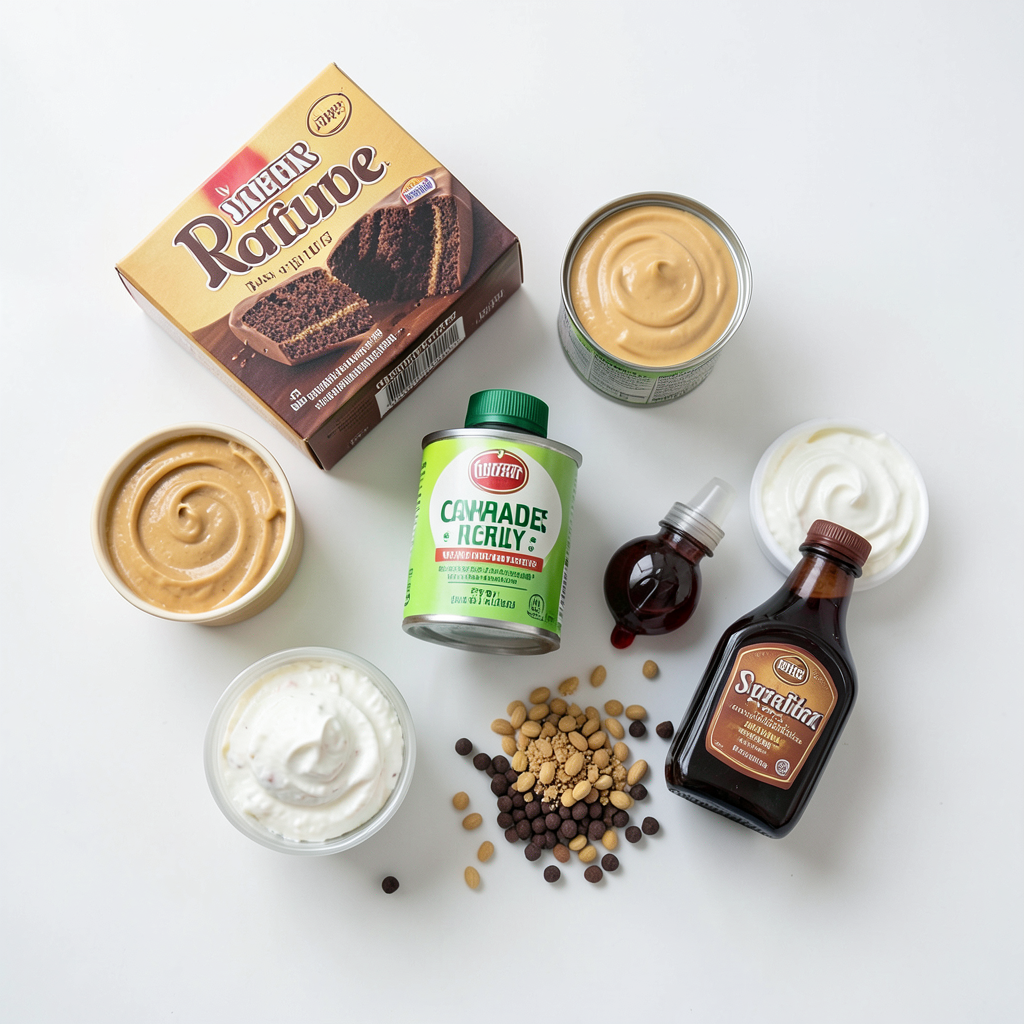
To make the perfect Chocolate Peanut Butter Poke Cake, gather these main ingredients:
- 1 box chocolate cake mix (plus eggs, water, and oil)
- 1 cup creamy peanut butter
- 1 can (14 oz) sweetened condensed milk
- 1 cup chocolate syrup
- 1 cup whipped topping (like Cool Whip)
- ½ cup mini chocolate chips
- ½ cup crushed peanuts (for garnish)
- Additional chocolate syrup (for drizzling)
These ingredients create a rich and creamy dessert that is sure to delight.
Baking Essentials Needed
You need some key tools to bake this delicious cake:
- 9x13 inch baking dish
- Mixing bowls
- Wooden spoon or skewer (for poking holes)
- Spatula (for spreading topping)
- Oven (for baking your cake)
Having these tools ready will make the baking process smooth.
Garnishing Options
For added flair and flavor, consider these garnishing options:
- Extra whipped topping on each slice
- Sprinkles of crushed peanuts for crunch
- More chocolate syrup drizzled on top
These simple touches can make your cake look even more appealing and delicious. Enjoy the process of creating this tasty treat!
Step-by-Step Instructions
Preparing the Oven and Baking Dish
First, preheat your oven. Check the box for the right temperature. Next, grab a 9x13 inch baking dish. Grease it well and sprinkle a bit of flour. This helps the cake come out easily.
Making the Chocolate Cake Batter
In a mixing bowl, add the chocolate cake mix. Follow the box instructions for eggs, water, and oil. Mix well until smooth. Pour the batter into your prepared baking dish. Bake it in the oven for 25-30 minutes. Use a toothpick to check if it's done. It should come out clean.
Creating Poke Holes and Adding Filling
Once your cake is baked, take it out. Let it cool in the pan for about 10 minutes. Use the handle of a wooden spoon to poke holes all over the cake. Space them about 1 inch apart. This step is key for flavor. In another bowl, mix the creamy peanut butter and sweetened condensed milk. Stir until it's smooth. Pour this mixture over the warm cake. Make sure it fills the holes well. Let it sit so the flavors blend.
Topping and Final Touches
After the cake cools completely, drizzle chocolate syrup on top. Be sure to cover the whole surface. Next, spread the whipped topping gently. Use a spatula for a smooth finish. Now, sprinkle mini chocolate chips over the topping. Add crushed peanuts for a nice crunch. For the final touch, drizzle more chocolate syrup on top. For the best flavor, refrigerate for at least 2 hours, or overnight if you can wait!
Tips & Tricks
Achieving the Perfect Cake Texture
To get that soft, moist cake, follow the box instructions closely. Use fresh eggs and good-quality water. Don’t overmix the batter; just stir until combined. This keeps the cake fluffy. Also, make sure to poke your holes evenly. This helps the filling soak in nicely.
Peanut Butter Mixture Consistency
The peanut butter mixture should be smooth and creamy. If it's too thick, it won't seep into the holes well. Mixing the peanut butter with sweetened condensed milk helps. If needed, you can warm the mixture slightly to make it easier to pour.
Refrigeration Recommendations for Best Flavor
Chilling your cake is key to enhancing flavors. After topping the cake, refrigerate it for at least 2 hours. For the best taste, let it sit overnight. This time allows all the flavors to blend. When you serve it chilled, the cake is even more refreshing.
Pro Tips
- Use Room Temperature Ingredients: Allow your eggs and peanut butter to come to room temperature before mixing. This will ensure a smoother batter and better incorporation of ingredients.
- Poke Holes Strategically: Make sure to poke holes that are evenly spaced and deep enough to allow the peanut butter mixture to seep in thoroughly, maximizing flavor absorption.
- Chill for Best Results: Refrigerating the cake overnight not only enhances the flavors but also makes slicing easier and improves the overall texture.
- Garnish Just Before Serving: To keep the crushed peanuts crunchy and the whipped topping fresh, add them just before serving the cake.
Variations
Alternative Cake Flavors
You can mix things up with different cake flavors. Instead of chocolate, try a vanilla or red velvet cake mix. A vanilla base pairs well with the peanut butter and chocolate. Red velvet adds a fun twist and a pop of color. Each choice brings a new taste experience.
Healthier Ingredient Swaps
Want a lighter version? Substitute the chocolate cake mix with a low-sugar alternative. You can also use natural peanut butter to cut down on added sugars. Swap the whipped topping for Greek yogurt for a protein boost. These swaps keep the cake tasty while making it a bit healthier.
Different Toppings and Add-ins
Get creative with toppings! Instead of mini chocolate chips, use crushed cookies or sprinkles. You could also add chopped fruits like bananas or strawberries for a fresh twist. Drizzle caramel sauce along with the chocolate syrup for extra sweetness. Each topping can change the cake’s flavor and look.
Storage Info
Proper Storage Methods
To keep your Chocolate Peanut Butter Poke Cake fresh, store it in the fridge. Use an airtight container or cover it tightly with plastic wrap. This helps keep the cake moist and prevents it from picking up other odors. If you don’t have an airtight container, a large plate covered with plastic wrap works too.
How Long It Lasts in the Fridge
When stored properly, this poke cake lasts about 4 to 5 days in the fridge. The flavors will blend more over time, making it even more delicious. Just remember to check for any signs of spoilage, like an off smell or changes in texture.
Freezing Instructions for Leftovers
If you have leftovers, you can freeze them for later enjoyment. Cut the cake into squares, then wrap each piece tightly in plastic wrap. Place the wrapped pieces in a freezer-safe bag. This way, you can easily grab a slice whenever a chocolate craving strikes. The cake will stay good for about 2 to 3 months in the freezer. Just thaw it in the fridge overnight before serving.
FAQs
Can I use natural peanut butter for this recipe?
Yes, you can use natural peanut butter. It may change the texture a bit. Natural peanut butter is less sweet and more oily. This can affect how well it mixes with the sweetened condensed milk. If you use natural peanut butter, stir it well before mixing. The cake will still be tasty, just a bit different.
What are the best ways to serve Chocolate Peanut Butter Poke Cake?
The best way to serve this cake is chilled. Slice it into squares for easy serving. You can top each slice with a dollop of whipped topping. A sprinkle of crushed peanuts adds a nice crunch. For extra flair, drizzle more chocolate syrup on top. This makes it look fancy and fun!
Can I make this recipe ahead of time?
Absolutely! You can make the cake a day in advance. Just let it cool and chill in the fridge. This gives the flavors time to mix well. It also helps the cake stay moist. When you’re ready to serve, just cut and enjoy!
The Chocolate Peanut Butter Poke Cake is easy to make and enjoy. We covered the main ingredients, baking steps, and tips for the best results. You learned how to customize flavors and toppings too. Remember to store any leftovers properly to keep them fresh. This cake is sure to impress at any gathering. Have fun baking and sharing this tasty treat!