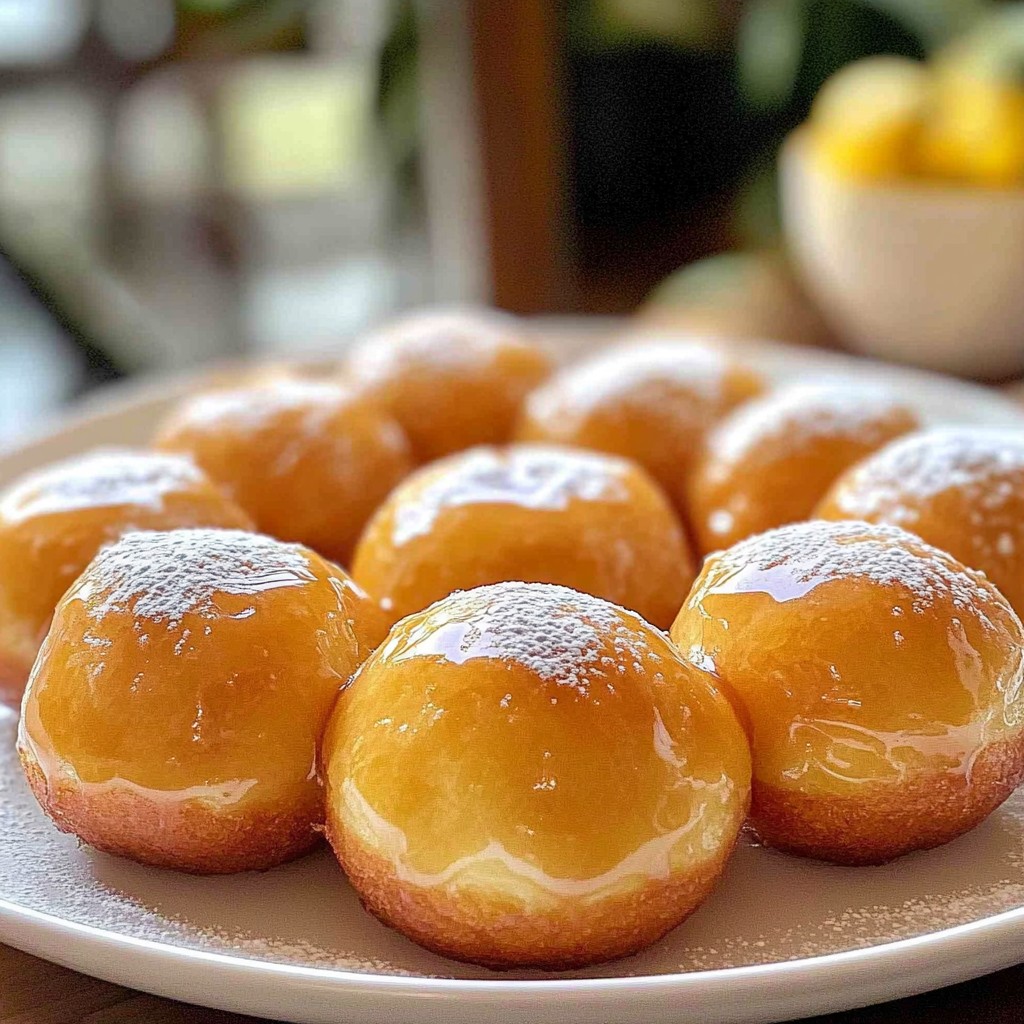
Are you ready to satisfy your sweet tooth? These Maple Glazed Donut Holes are simple to make and incredibly tasty! Imagine soft, warm treats covered in a sweet maple glaze. In this guide, I’ll share the easy ingredients, step-by-step instructions, and fun tips to make these irresistible bites. Let’s dive in and create a delightful snack that will impress everyone!
Why I Love This Recipe
- Delicious Flavor: The combination of maple syrup and cinnamon creates a sweet, warm flavor that is irresistible.
- Easy to Make: This recipe requires simple ingredients and straightforward steps, making it perfect for bakers of all levels.
- Perfect for Any Occasion: These donut holes are great for breakfast, snacks, or as a dessert for any gathering.
- Customizable: You can easily add your favorite mix-ins or toppings, like chocolate chips or nuts, for a personal touch.
Ingredients
Dry Ingredients List
- 1 cup all-purpose flour
- 1/4 cup granulated sugar
- 1 teaspoon baking powder
- 1/4 teaspoon baking soda
- 1/4 teaspoon salt
- 1/2 teaspoon ground cinnamon
Wet Ingredients List
- 1/4 cup unsweetened applesauce
- 1/4 cup milk
- 1 large egg
- 2 tablespoons unsalted butter, melted
- 1/4 cup pure maple syrup
- 1/2 teaspoon vanilla extract
Optional Ingredients
- Powdered sugar for dusting
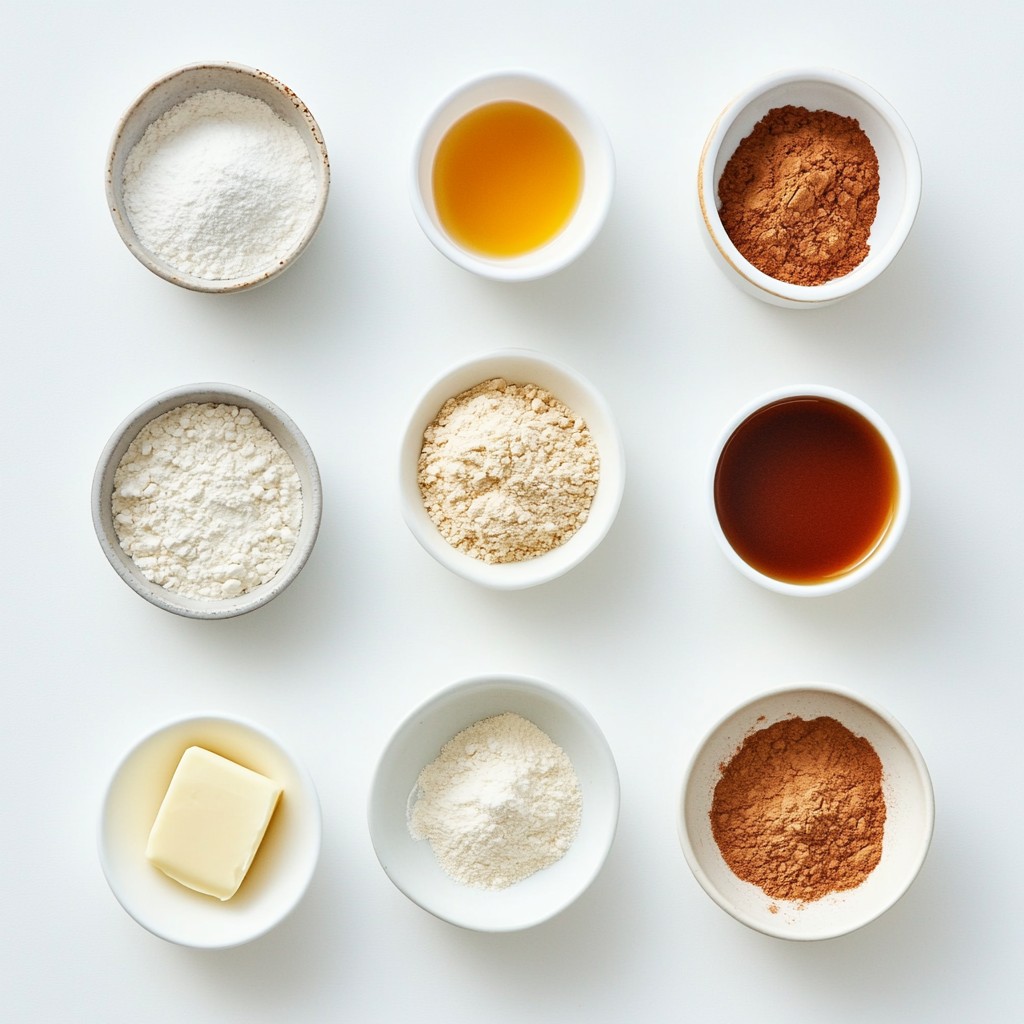
When I make maple glazed donut holes, I focus on the ingredients. Each one plays a role. The dry ingredients start with all-purpose flour, which gives structure. Granulated sugar adds sweetness. Baking powder and baking soda help the donut holes rise. A pinch of salt balances the flavors, while ground cinnamon gives a warm taste.
Next, we use wet ingredients. Unsweetened applesauce keeps them moist. Milk adds creaminess. The large egg binds everything together. Melted unsalted butter brings richness. Pure maple syrup is the star, giving that sweet, earthy flavor. Lastly, a touch of vanilla extract enhances the overall taste.
If you want an extra touch of sweetness, consider using powdered sugar for dusting. It makes the donut holes look pretty and adds a nice finish. Each ingredient is important. Together, they create an irresistible sweet treat that you and your family will love.
Step-by-Step Instructions
Prepping the Oven and Pan
First, you need to preheat your oven to 350°F (175°C). This step is crucial for even baking. While the oven heats, prepare your mini muffin or donut hole pan. Lightly grease it with non-stick spray or a bit of vegetable oil. This helps the donut holes pop out easily once they bake.
Mixing the Dry Ingredients
Next, sift and mix all the dry ingredients in a large bowl. This includes:
- 1 cup all-purpose flour
- 1/4 cup granulated sugar
- 1 teaspoon baking powder
- 1/4 teaspoon baking soda
- 1/4 teaspoon salt
- 1/2 teaspoon ground cinnamon
Mix these ingredients well. This ensures that the baking powder and soda distribute evenly. It also helps with a light texture in your donut holes.
Preparing the Wet Mixture
In a separate bowl, whisk together all the wet ingredients. You will need:
- 1/4 cup unsweetened applesauce
- 1/4 cup milk
- 1 large egg
- 2 tablespoons unsalted butter, melted
- 1/4 cup pure maple syrup
- 1/2 teaspoon vanilla extract
Whisk until the mixture is smooth and combined. This step adds moisture and flavor to your donut holes.
Combining Mixtures
Now, carefully pour the wet mixture into the bowl of dry ingredients. Gently fold the two mixtures together until just combined. Be careful not to overmix. You want to leave some lumps for a tender texture. Stop when you can no longer see dry flour.
Filling the Pan and Baking
Use a spoon or small ice cream scoop to fill each cavity in the pan. Fill them about 3/4 full to allow room for rising. Then, place the pan in the preheated oven. Bake for 10-12 minutes. To check for doneness, insert a toothpick into the center. If it comes out clean, your donut holes are ready!
Glazing
After baking, let your donut holes cool in the pan for about 5 minutes. Then, transfer them to a wire rack to cool completely. For the maple glaze, mix additional maple syrup with powdered sugar (if using) in a small bowl until smooth. Dip the tops of the cooled donut holes into the glaze, letting excess drip off. If you want, dust with powdered sugar for extra sweetness before serving. Enjoy your delicious maple glazed donut holes!
Tips & Tricks
Baking Tips
- Ensure proper measuring of ingredients. Use dry measuring cups for flour and sugar. For liquids, use a liquid measuring cup. Accurate measuring keeps your donut holes light and fluffy.
- Avoid overmixing for tenderness. Mix until the dry ingredients are just moistened. Some lumps are okay. This helps keep the donut holes soft and airy.
Glaze Suggestions
- Customize glaze thickness and sweetness. You can add more powdered sugar for a thicker glaze. If you prefer a runnier glaze, add more maple syrup. Adjust it to suit your taste.
Serving Presentation
- Arrange donut holes attractively. Place them on a nice platter. You can stack them or arrange them in a circle. This makes them look even more tempting.
- Garnish ideas for enhanced appeal. Drizzle extra maple syrup over the top. You can also add a sprig of mint for a fresh look. These small touches make your treats shine.
Pro Tips
- Use Fresh Ingredients: Ensure your baking powder and baking soda are fresh for optimal rise and texture in your donut holes.
- Don’t Overmix: Mix the batter until just combined for light and fluffy donut holes. Overmixing can lead to a dense texture.
- Cooling Time: Allow the donut holes to cool completely on a wire rack before glazing to prevent the glaze from melting off.
- Customize Your Glaze: Experiment with adding spices like nutmeg or a splash of bourbon to your maple glaze for an extra flavor twist.
Variations
Flavor Variations
You can change the flavor of your donut holes easily. Adding spices like nutmeg or ginger gives a warm taste. Nutmeg adds a sweet note, while ginger brings a hint of heat. These spices work well with the maple glaze.
You can also infuse chocolate or fruit flavors for a fun twist. Try mixing in chocolate chips or using fruit puree. Blueberry or raspberry puree adds a fruity zing that pairs well with maple.
Dietary Adjustments
If you need gluten-free options, use a gluten-free flour blend. This swap keeps the donut holes light and tasty. Look for blends with rice flour or almond flour for a great texture.
For a vegan version, replace the egg with a flax egg. To make a flax egg, mix one tablespoon of flaxseed meal with three tablespoons of water. Let it sit for a few minutes to thicken. Use almond or soy milk instead of regular milk for a dairy-free treat.
Serving Suggestions
Pair your donut holes with coffee or tea for a perfect snack. The sweet glaze complements the rich flavors of your drink.
For a fun presentation, arrange them on a dessert platter. You can drizzle extra maple syrup or glaze over the top. Garnish with fresh mint for a pop of color and freshness. Enjoy your donut holes with family and friends!
Storage Info
Short-term Storage
To keep donut holes fresh at room temperature, place them in an airtight container. Line the container with a paper towel to absorb moisture. This helps maintain their soft texture. Enjoy them within two days for the best taste.
Long-term Storage
For long-term storage, freezing is your best option. First, let the donut holes cool completely. Then, arrange them in a single layer on a baking sheet. Freeze them for about an hour. After they are firm, transfer them to a freezer bag. Remove as much air as possible to prevent freezer burn.
When you're ready to enjoy them, thaw the donut holes at room temperature for about 30 minutes. You can also reheat them in the oven at 350°F for about 5-7 minutes. This restores their warm, fluffy texture.
Shelf Life
Maple glazed donut holes stay good for about 2 days at room temperature. In the freezer, they can last for up to three months. Just remember to check for any signs of freezer burn before using. Enjoy these sweet treats while they're fresh!
FAQs
How do I know when my donut holes are done baking?
You can tell your donut holes are done when they are golden brown. A toothpick inserted in the center should come out clean. If it has wet batter, bake them a bit longer. You want them fluffy, not dry, so keeping an eye on them is key.
Can I make these donut holes ahead of time?
Yes, you can make these donut holes ahead of time. Store them in an airtight container at room temperature for up to two days. For longer storage, freeze them in a zip-top bag. Just remember to thaw them before serving.
What can I substitute for maple syrup?
If you don’t have maple syrup, you can use honey or agave nectar. Both give a nice sweetness. You can also use brown sugar mixed with water as a last resort. Just remember that the flavor will change a bit.
Can I use flavored applesauce?
Yes, you can use flavored applesauce. Cinnamon or vanilla flavors will work well. However, be aware that strong flavors may change the taste of your donut holes. It's best to stick with light flavors for a balanced treat.
How can I make the glaze thicker?
To thicken your glaze, add more powdered sugar. Stir it in slowly until you reach your desired thickness. If it's too thick, you can add a little maple syrup or milk. Adjusting it is easy, so have fun with it!
You learned how to make tasty donut holes using simple ingredients. We covered dry and wet components, plus optional toppings. The step-by-step guide made baking easy and fun. Don’t forget the tips on storage and serving. Remember, you can play with flavors and tweak recipes to fit your needs. Enjoy your fresh, homemade treats. Now, it’s time to bake and share joy with your friends and family!