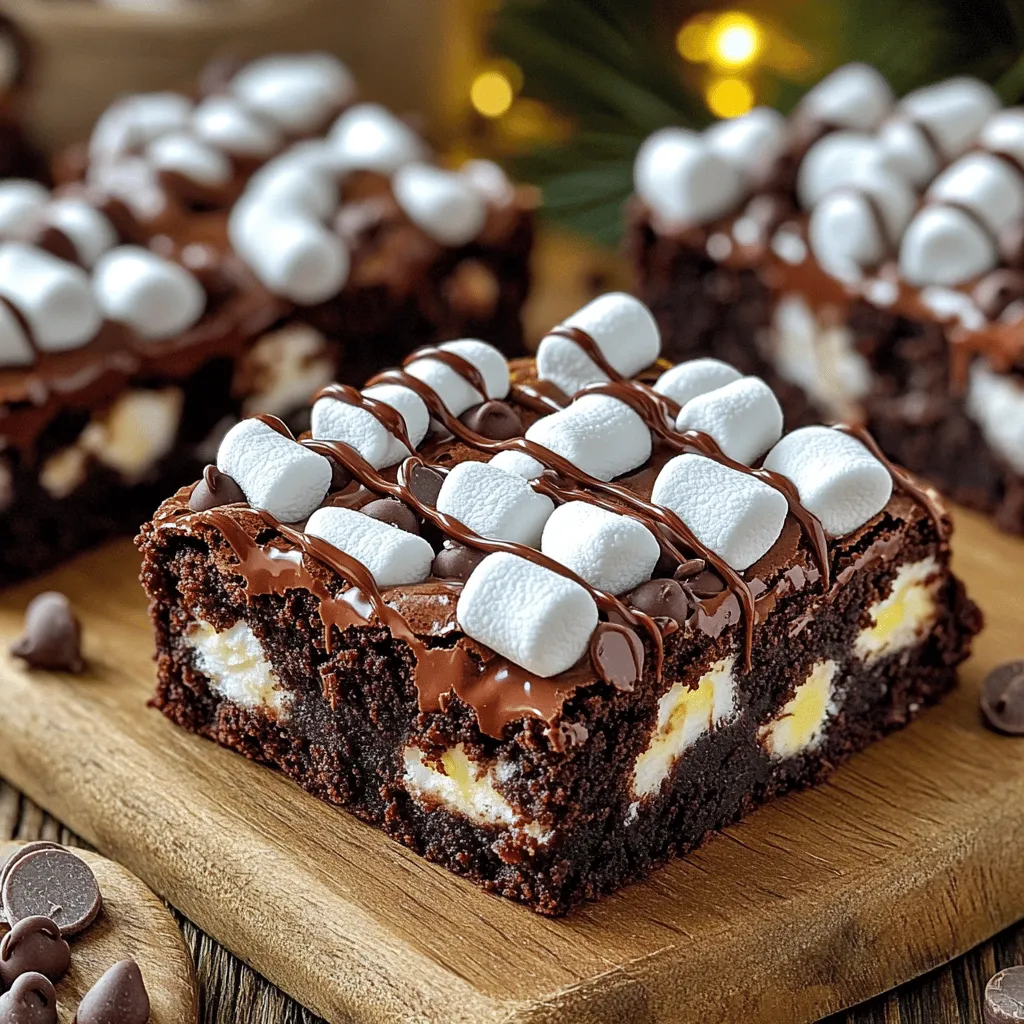
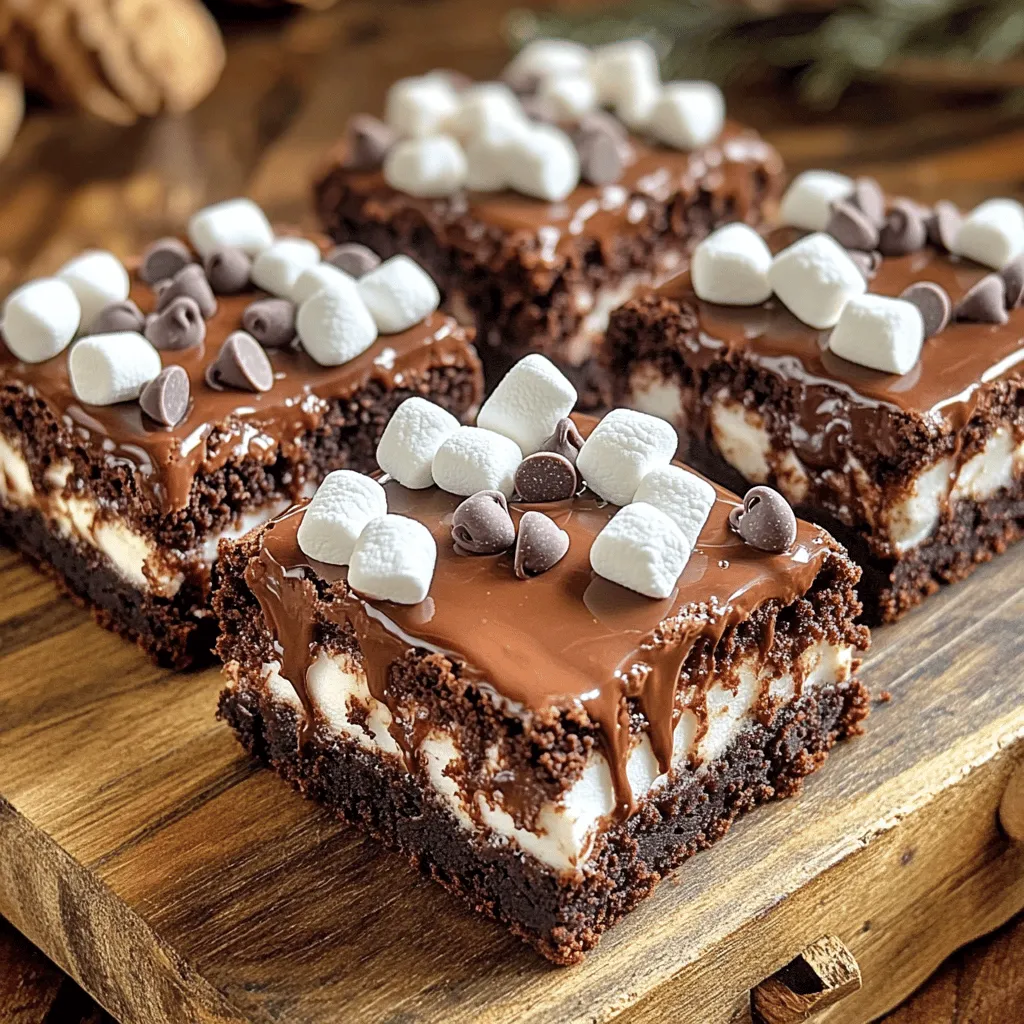
Are you ready to elevate your dessert game? Marshmallow Frosted Brownies are a rich, gooey treat that will have everyone asking for seconds. With a simple list of ingredients and easy steps, you can whip up this dessert delight in no time. Get ready to impress friends and family with these soft brownies topped with luscious marshmallows and chocolate chips. Let’s dive into the delicious details!
Ingredients
List of Ingredients
– 1 cup unsalted butter, melted
– 2 cups granulated sugar
– 4 large eggs
– 1 teaspoon pure vanilla extract
– 1 cup all-purpose flour
– 1 cup unsweetened cocoa powder
– ½ teaspoon baking powder
– ¼ teaspoon sea salt
– 1 cup mini marshmallows (plus extra for topping)
– ½ cup chocolate chips
Gathering ingredients is key to making marshmallow frosted brownies. Start with unsalted butter. This makes your brownies rich and smooth. Next, use granulated sugar for sweetness. It gives the brownies that chewy texture we all love. You will need four large eggs. They bind the mix and add moisture. Pure vanilla extract adds a warm flavor that enhances all the good tastes.
Now, let’s talk about dry ingredients. All-purpose flour creates the structure. Unsweetened cocoa powder is a must for that deep chocolate flavor. You also need baking powder to help the brownies rise. A pinch of sea salt balances the sweetness.
Don’t forget the star of the show: mini marshmallows. They melt into gooey pockets of delight. A half cup of chocolate chips adds extra chocolatey goodness. If you want, save some marshmallows for a fun topping.
Equipment Needed
– 9×13 inch baking pan
– Mixing bowls
– Whisk and spatula
– Toothpick for testing doneness
Having the right tools makes baking easier. Use a 9×13 inch baking pan. This gives your brownies the perfect shape. Mixing bowls are needed for combining wet and dry ingredients. A whisk helps mix everything until smooth. A spatula is great for folding in the marshmallows and chocolate chips. Finally, a toothpick is essential to check if your brownies are done baking. Just insert it into the center and pull it out. If it has a few moist crumbs, you are good to go!
Step-by-Step Instructions
Preparation Steps
1. Preheat your oven to 350°F (175°C). This temperature helps the brownies rise.
2. Prepare a 9×13 inch baking pan. Grease it well or line it with parchment paper. This makes for easy lifting later.
3. In a large bowl, mix the melted unsalted butter and granulated sugar. Stir until smooth.
4. Add four large eggs, one at a time. Beat well after each addition.
5. Pour in one teaspoon of pure vanilla extract. This adds a lovely flavor.
Mixing Dry Ingredients
1. In another bowl, whisk together one cup of all-purpose flour, one cup of cocoa powder, half a teaspoon of baking powder, and a quarter teaspoon of sea salt. This mix gives your brownies their structure and rich taste.
Combining Wet and Dry Ingredients
1. Gradually add the dry mix to the wet ingredients. Use a spatula to fold them together gently.
2. Be careful not to overmix. Aim for a batter that is mostly smooth with a few lumps.
3. Fold in one cup of mini marshmallows and half a cup of chocolate chips. This adds sweetness and texture.
Baking the Brownies
1. Pour the brownie batter into your prepared pan. Use a spatula to spread it evenly.
2. Bake in the preheated oven for 25-30 minutes. To check for doneness, insert a toothpick into the center. It should come out with a few moist crumbs.
3. Once done, take the pan out and let the brownies cool for about 15 minutes.
4. Optional: For extra fun, sprinkle more mini marshmallows on top. Broil them for 1-2 minutes until they puff up. Watch them closely!
5. Let the brownies cool completely before cutting them into squares.
Tips & Tricks
Achieving Perfect Texture
To get the right texture in your brownies, mix carefully. When adding the dry ingredients, fold them in gently. This keeps the batter from getting too tough. You want a few lumps, not a smooth mix. Overmixing leads to dry brownies.
To check if your brownies are done, use a toothpick. Insert it into the center of the pan. If it comes out with a few moist crumbs, they are ready. If it has wet batter, bake a little longer.
Presentation Suggestions
Serve your brownies on a rustic wooden board. This adds a nice touch. Drizzle warm, melted chocolate over the top for a rich look. Scatter some extra mini marshmallows on top for color.
For a fun twist, toast the extra marshmallows under the broiler. Watch them closely as they puff and turn golden. This makes them look and taste even better!
Flavor Enhancements
You can add nuts for a crunch. Chopped walnuts or pecans fit well. If you love chocolate, try using dark chocolate chips instead of semi-sweet. This gives a deeper flavor. You could also mix in white chocolate for a sweet twist.
Variations
Different Brownie Bases
You can change the flour to make fun brownie bases. Almond flour gives a nutty taste. Gluten-free flour works well for those who can’t eat gluten. Just swap equal amounts in the recipe. This keeps your brownies tasty and friendly for all diets.
Flavor Profiles
Want to add a twist? Try mixing in peppermint or espresso. A few drops of peppermint extract can make your brownies festive. Espresso powder boosts the chocolate flavor and adds depth. Just mix in a teaspoon or so when you add the dry ingredients.
Dietary Adjustments
You can easily make these brownies dairy-free or vegan. For dairy-free, use coconut oil instead of butter. Substitute eggs with flaxseed meal or applesauce. Use dairy-free chocolate chips for a fully vegan treat. These swaps keep the brownies rich and delicious for everyone.
Storage Info
Storing Leftover Brownies
To keep your brownies fresh, store them in an airtight container. Place a piece of parchment paper between layers to prevent sticking. Store them in the refrigerator for up to a week. This will keep the marshmallows soft and the brownies moist. If you want to enjoy them later, refrigeration is your best friend.
Freezing Brownies
You can freeze your brownies for longer shelf life. Cut them into squares before freezing. Wrap each square in plastic wrap, then place them in a freezer bag. This keeps them fresh for up to three months. To thaw, take them out and leave them at room temperature for a few hours. You can also microwave them for about 10-15 seconds for a quick treat.
Best Serving Suggestions after Storage
To enjoy your brownies after storage, you can reheat them. Preheat your oven to 350°F (175°C). Place the brownies on a baking sheet and warm them for 5-10 minutes. This makes them soft and gooey again. Serve warm with a scoop of vanilla ice cream for a delicious dessert. Add extra marshmallows on top for a fun touch!
FAQs
Can I use different types of marshmallows for this recipe?
Yes, you can use different types of marshmallows. Regular-sized marshmallows work well, but mini marshmallows melt more evenly. You can also try flavored marshmallows for a fun twist. Just keep in mind that larger marshmallows may not melt as completely, so chop them into smaller pieces if you choose them.
How do I know when the brownies are done baking?
To check if the brownies are done, insert a toothpick into the center. If it comes out with a few moist crumbs, your brownies are ready. If it has wet batter, they need more time. Typically, they bake for 25-30 minutes, but ovens can vary, so always check!
What can I use as a substitute for unsalted butter?
If you need a substitute for unsalted butter, you can use coconut oil or margarine. Both options work well in this recipe. You can also use vegetable oil, but it may change the texture slightly. Just remember to use the same amount as the butter.
How long do marshmallow frosted brownies last?
Marshmallow frosted brownies can last up to five days when stored properly. Keep them in an airtight container at room temperature. If you want them to last longer, you can refrigerate them for up to a week. Just make sure to let them come to room temperature before serving for the best taste!
In this post, we covered the simple ingredients and steps for making delightful brownies. You learned about mixing wet and dry ingredients, baking, and testing for doneness. We also looked at tips for texture and presentation. Remember, you can change up flavors and storage methods to suit your taste. Enjoy your baking adventure! With a few tweaks, you can personalize these brownies and make them your own.