


LATEST RECIPES


LET'S GET COOKING!
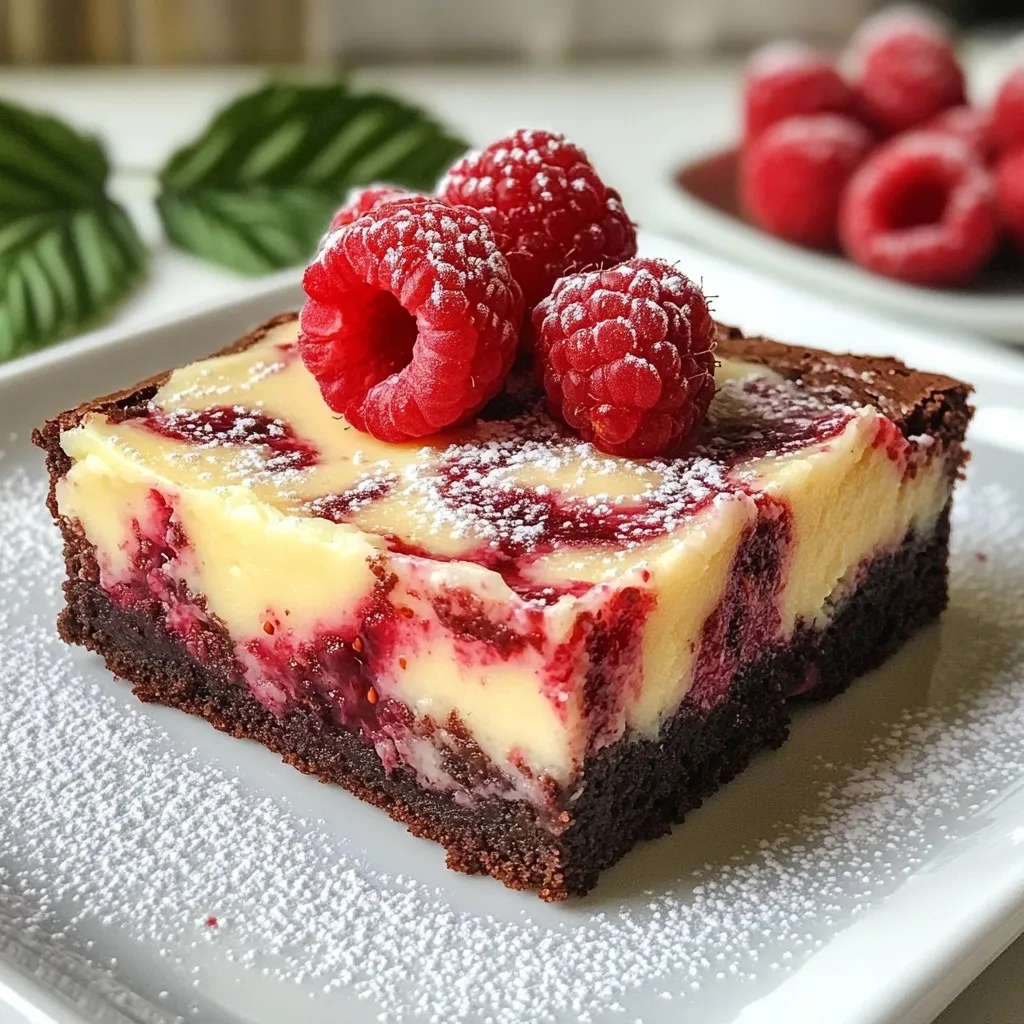
Raspberry Swirl Cheesecake Brownies Irresistible Delight
If you love desserts that please both the eyes and the taste buds, you’ll adore these Raspberry Swirl Cheesecake Brownies. This treat combines rich, fudgy...
Read Full Recipe →